Grooming in Houdini – With Amelia
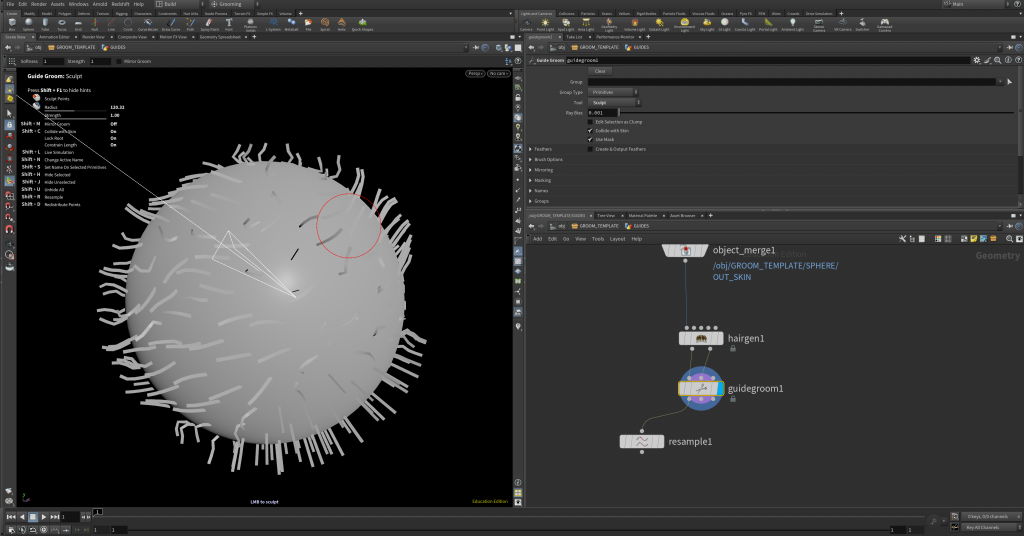
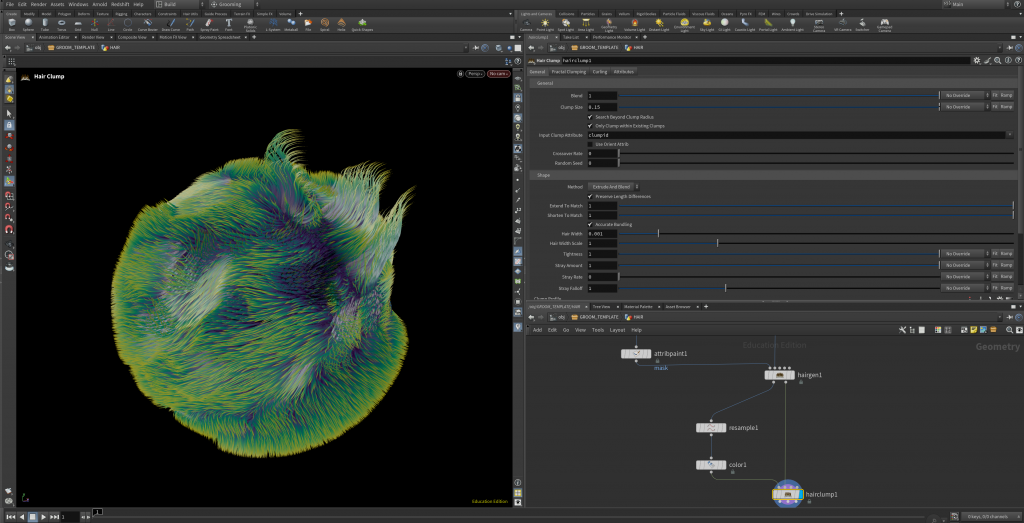
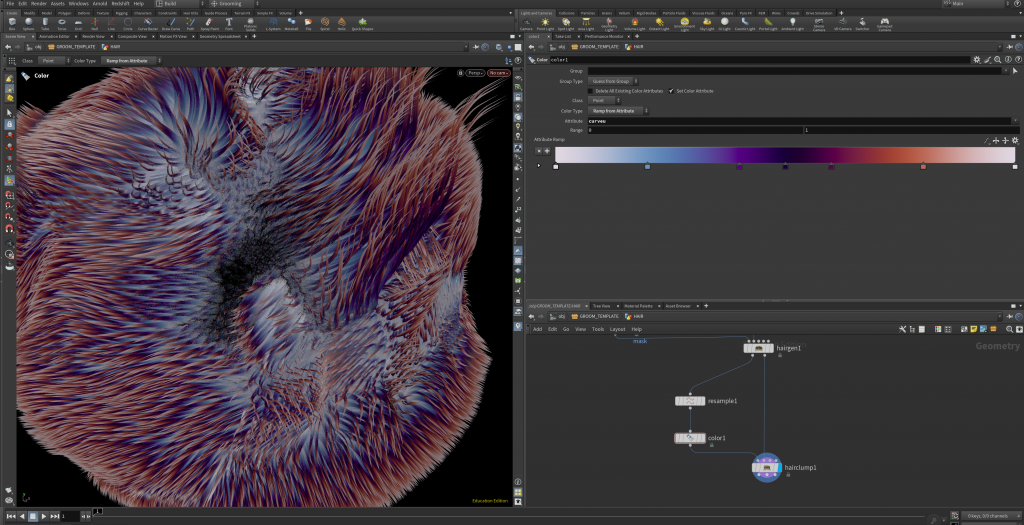
During this session with Amelia, we had an introduction to grooming in Houdini, learning the basics of how hair and fur can be generated and controlled procedurally. We experimented with guides, strand direction, length, density and colour to get a small feel for how a groom can be built and manipulated.
Houdini is an incredibly complex software, and even this grooming process quickly showed us how technical and complicated it can become. We only had a very small introduction to what is possible, but it was enough to get a feel for the workflow. I found it genuinely fascinating, especially seeing how something that initially looks like a crazy network of nodes and guides gradually turns into a detailed groom.
Introduction to 3D Layout – With Angel Cano
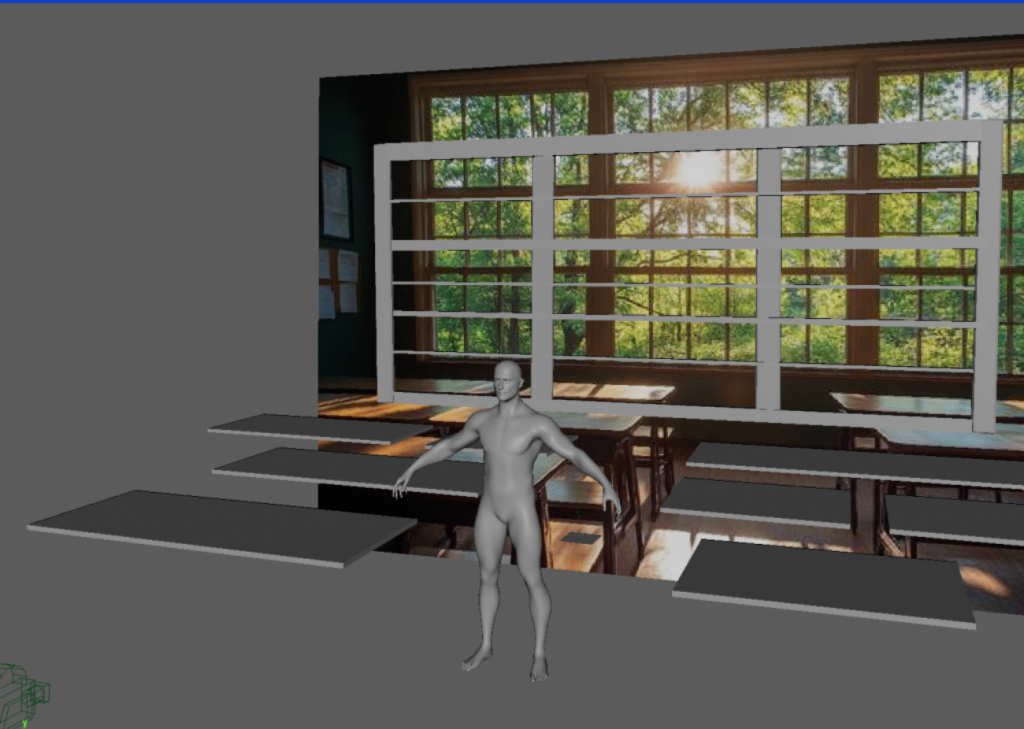
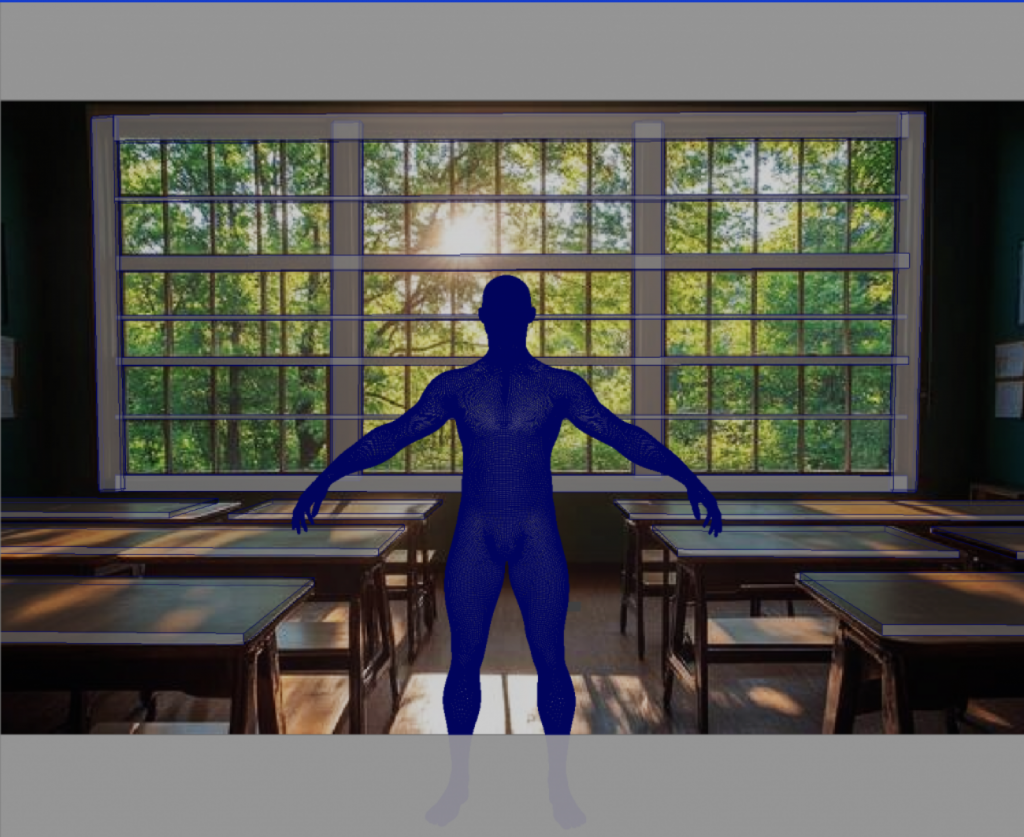
During this session with Angel Cano, we were introduced to 3D layout and its role within the VFX pipeline. We learned how layout establishes the foundations of a shot through camera placement, scale, perspective and the positioning of elements within a scene. We were then given a selection of reference images and asked to recreate the basic spatial composition of one of them in Maya.
We chose a classroom reference and began by matching the camera and establishing the overall scale using a human figure as a guide. From there, we blocked out the main elements using simple geometry, focusing on proportions, depth and placement rather than detail. Moving between the camera and perspective views helped us understand how a 2D reference can be interpreted and reconstructed as a three-dimensional space.
Generative AI – With David
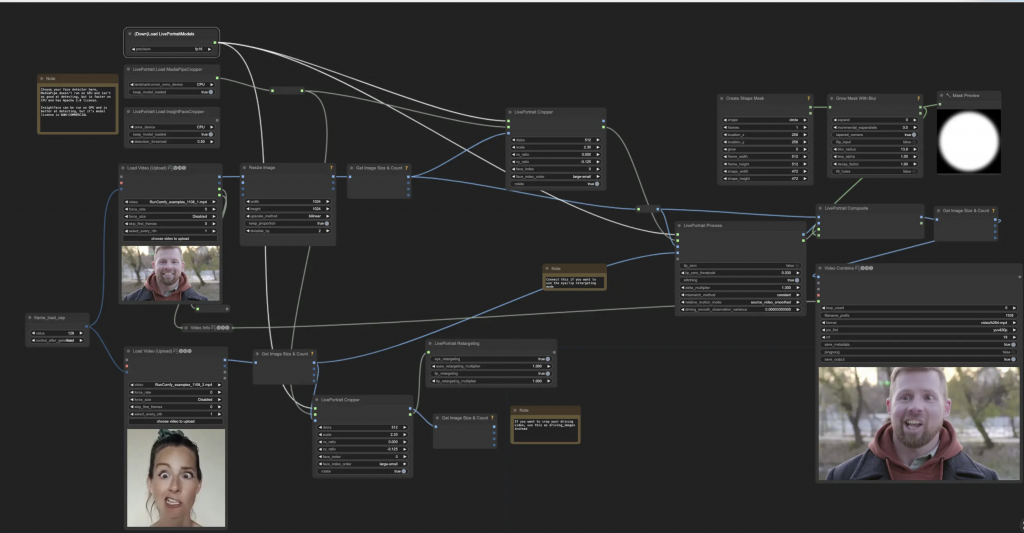
During this session with David, we were introduced to ComfyUI and a more advanced way of working with generative AI. Most of us are already familiar with writing prompts in tools such as ChatGPT to generate images, but ComfyUI takes this much further by giving significantly more control over how the image is actually created.
Instead of relying only on a prompt, the workflow is built through nodes, where different parts of the generation process can be connected and adjusted individually. This allows much more control over the input images, models, masks and different stages of the generation. It was interesting to see how much is actually happening behind what can otherwise feel like simply typing a prompt and receiving an image.
CG Lighting & Colour Management – With David
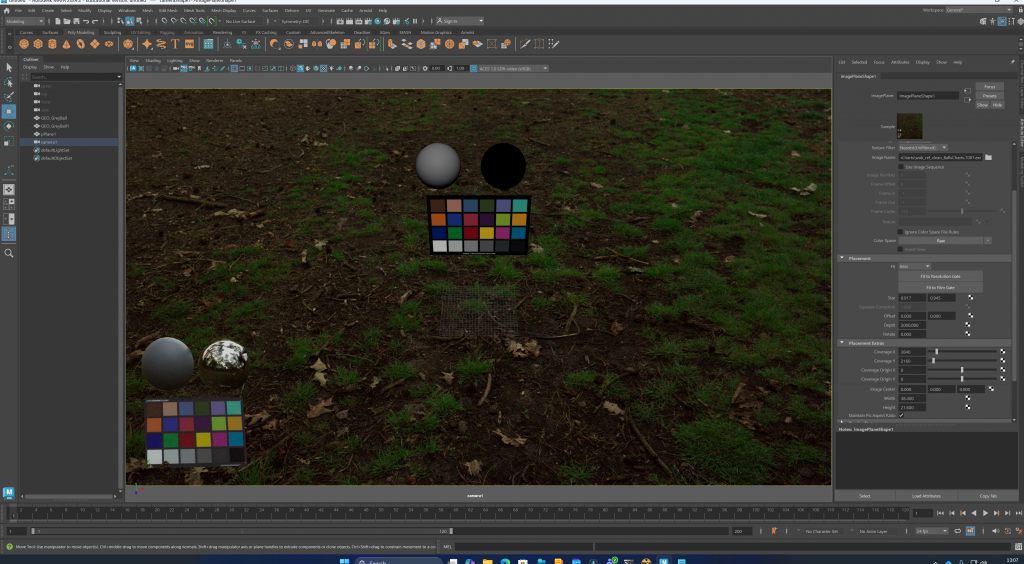
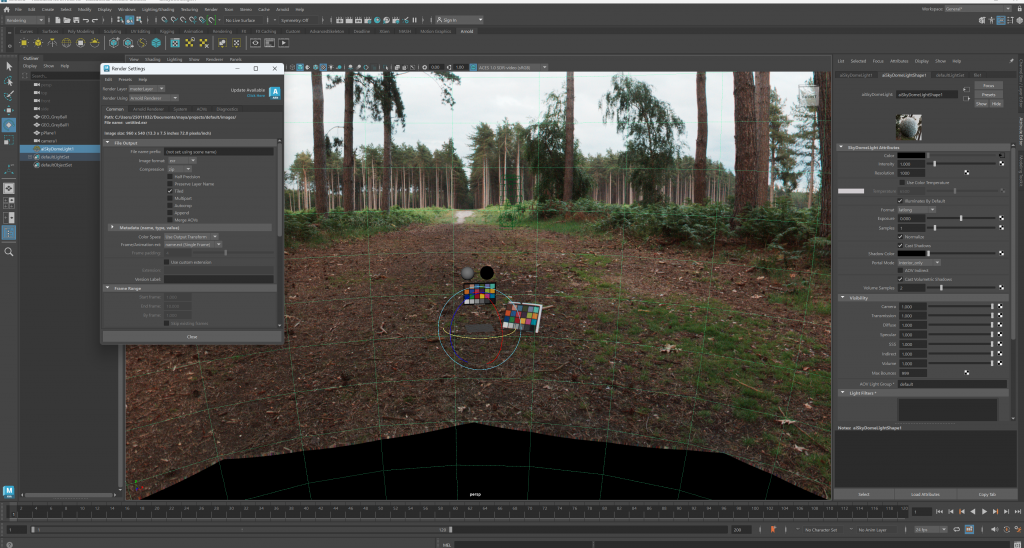
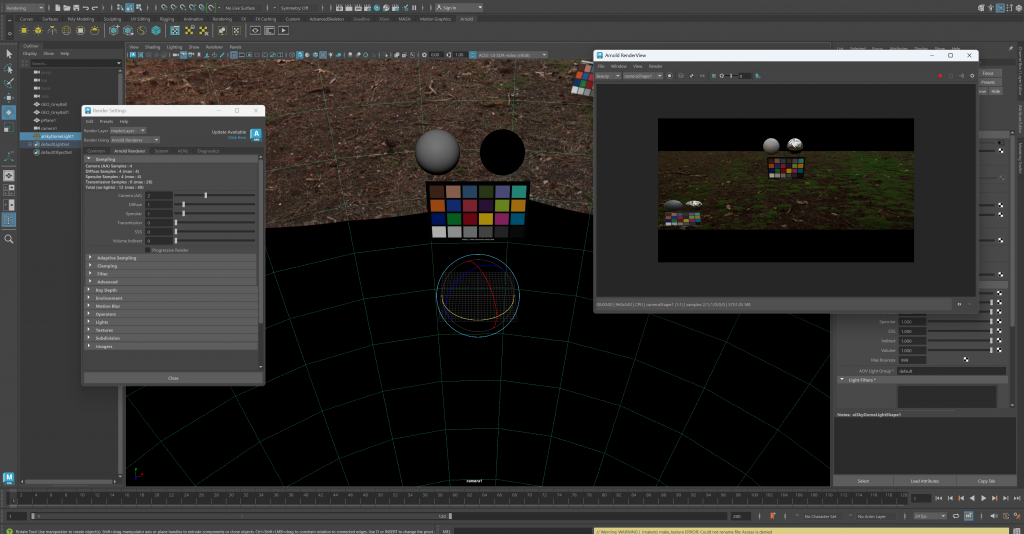
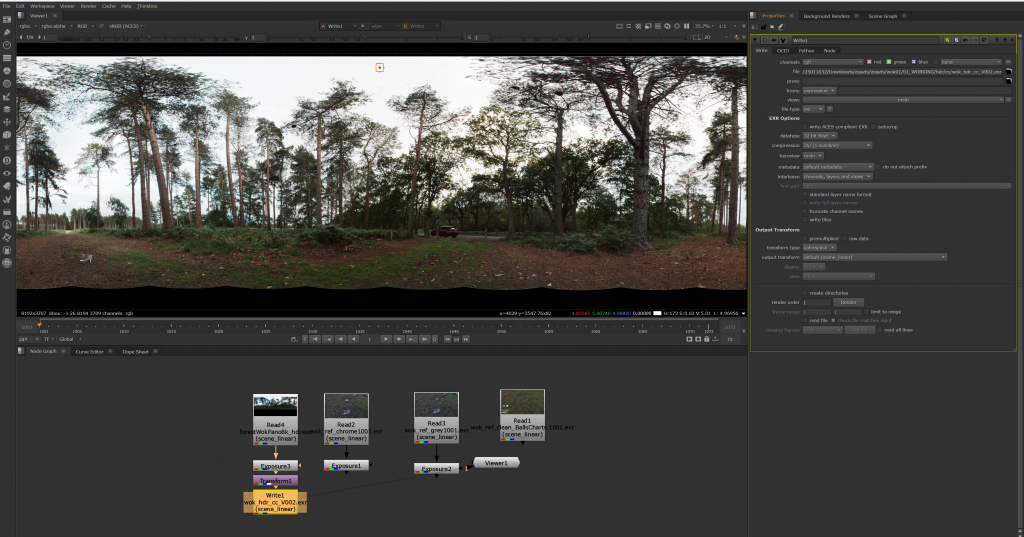
In this session with David, we went through the technical workflow used for matching CG elements to live-action footage. We started by converting footage into ACES in DaVinci Resolve, then created CG reference balls and colour charts in Maya. We also looked at managing the colour and luminosity of HDR images in Nuke and using them as part of the lighting workflow.
We then set up a reference scene in Maya based on the original reference shot, adjusted the render settings and checked the lighting and per-pixel accuracy to see how closely the CG matched the footage. The session showed us how lighting, colour management and reference material all work together, not only for shot lighting but also for look development and creating believable CG assets.
Leave a Reply