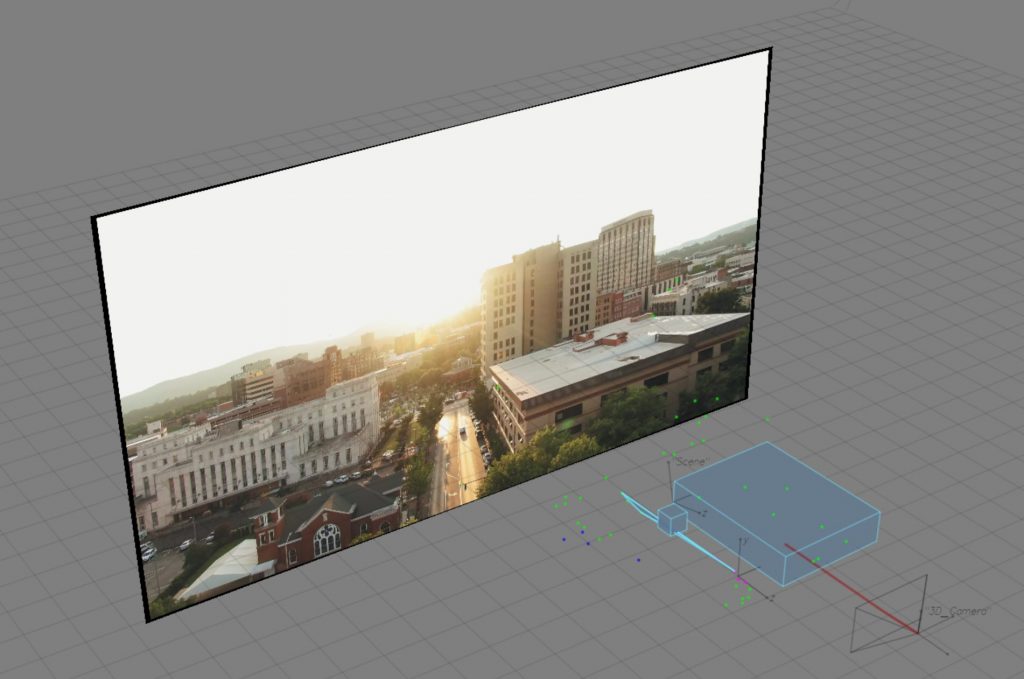
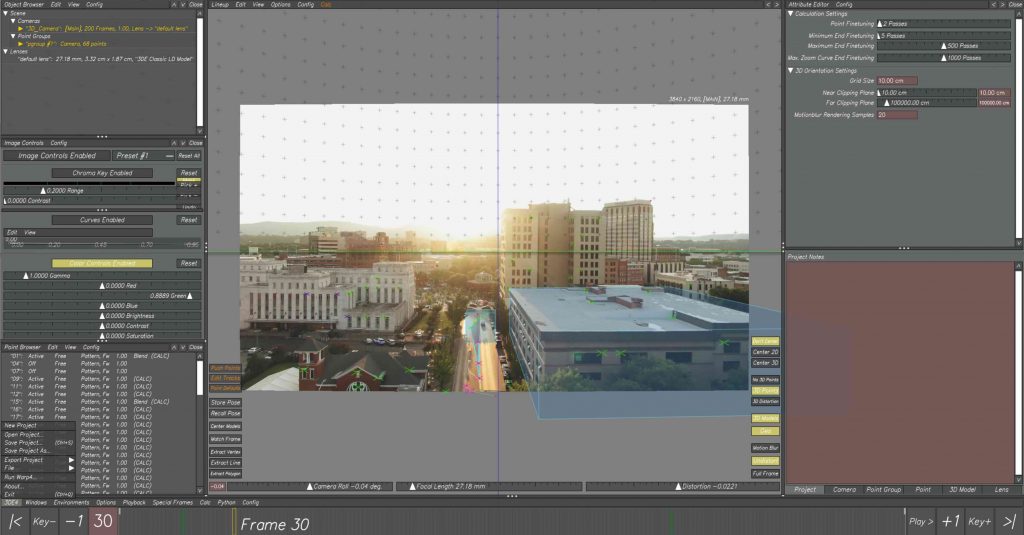
We started by tracking a wide exterior shot of a city environment. The focus here was on identifying stable points across buildings and architectural elements, which allowed us to reconstruct the scene in 3D space. This gave us a clearer understanding of how the camera moves through the environment and how depth can be translated from a flat image into a spatial layout.
Rebuilding space in 3D
After tracking the footage, we switched to the 3D view and placed simple geometry, such as cubes, into the scene. These were used as rough stand-ins for buildings, helping us visualise scale, perspective, and spatial relationships. This step made the tracking feel more tangible, turning abstract points into a readable structure.
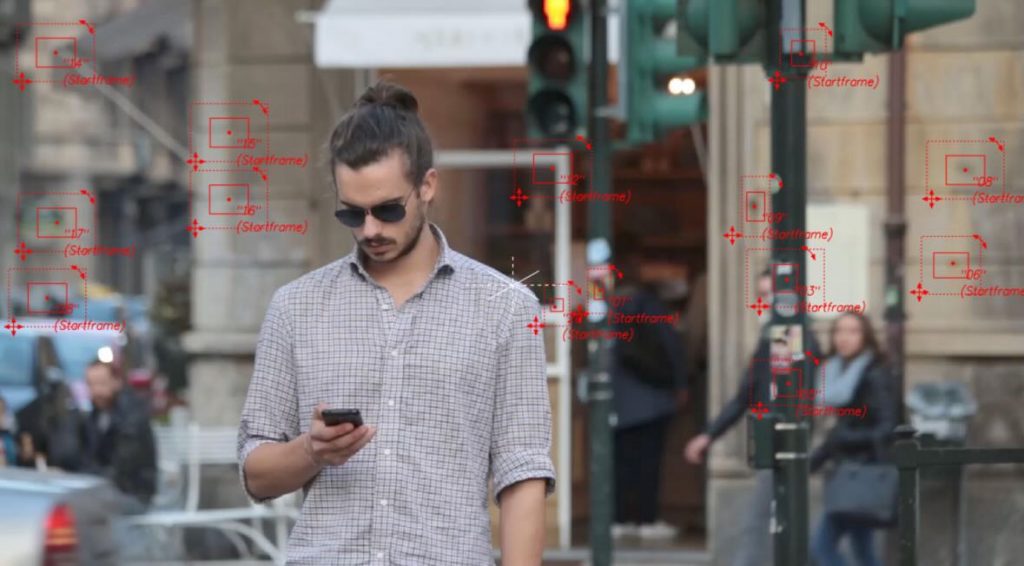
Background tracking on character footage
In the second session, we worked with footage of a man walking through an urban setting. We began by tracking background points to establish a stable base for the shot. This created a solid foundation before introducing any elements that needed to follow the subject more closely.
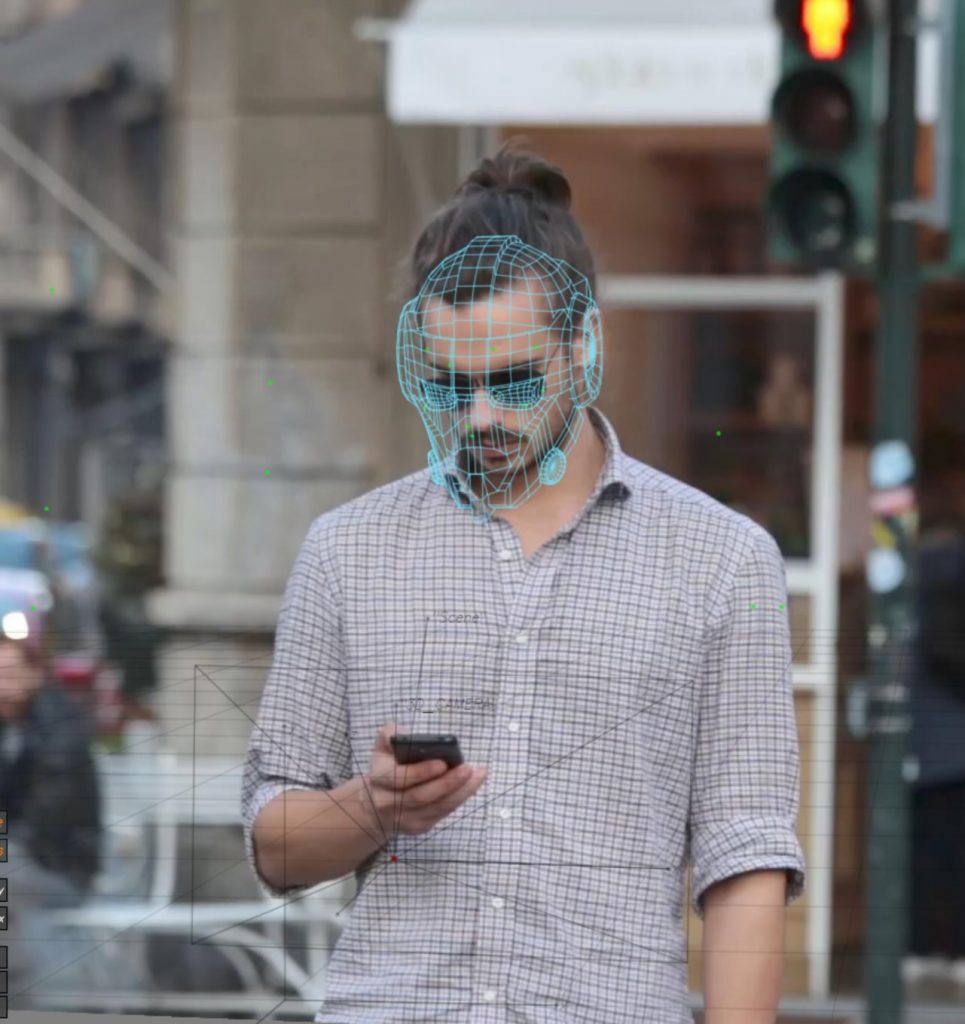
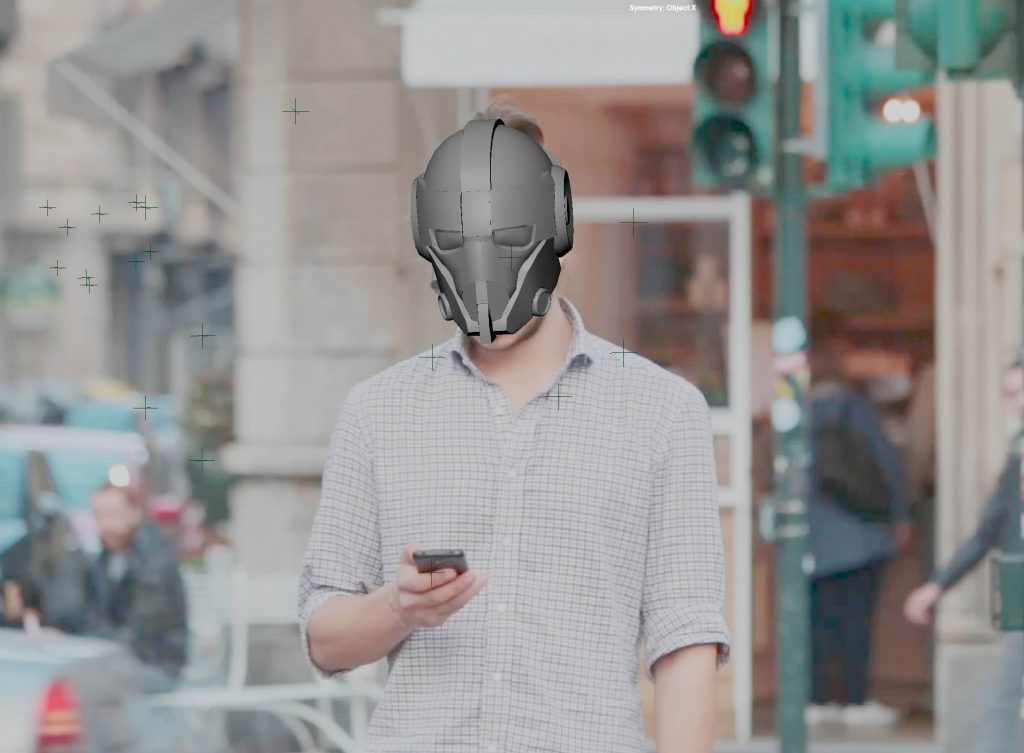
Once the background was set, we moved on to tracking the man’s face. This allowed us to explore more detailed tracking and understand how smaller, more precise points could be used to drive CG elements attached directly to a person, rather than the environment.
Iron Man mask placement
With the facial tracking in place, we imported a 3D Iron Man mask into 3DEqualizer and aligned it to the tracked points. This step focused on adjusting the scale and position of the mask and checking that it moved convincingly with the subject throughout the shot.
Export to Maya
The final step was exporting the tracked camera, footage, and data into Maya. This allowed us to further adjust the mask in a 3D scene, refine its placement, and check how well it sat within the shot. Bringing everything into Maya helped connect the tracking process to a full CG workflow and a finished visual result.
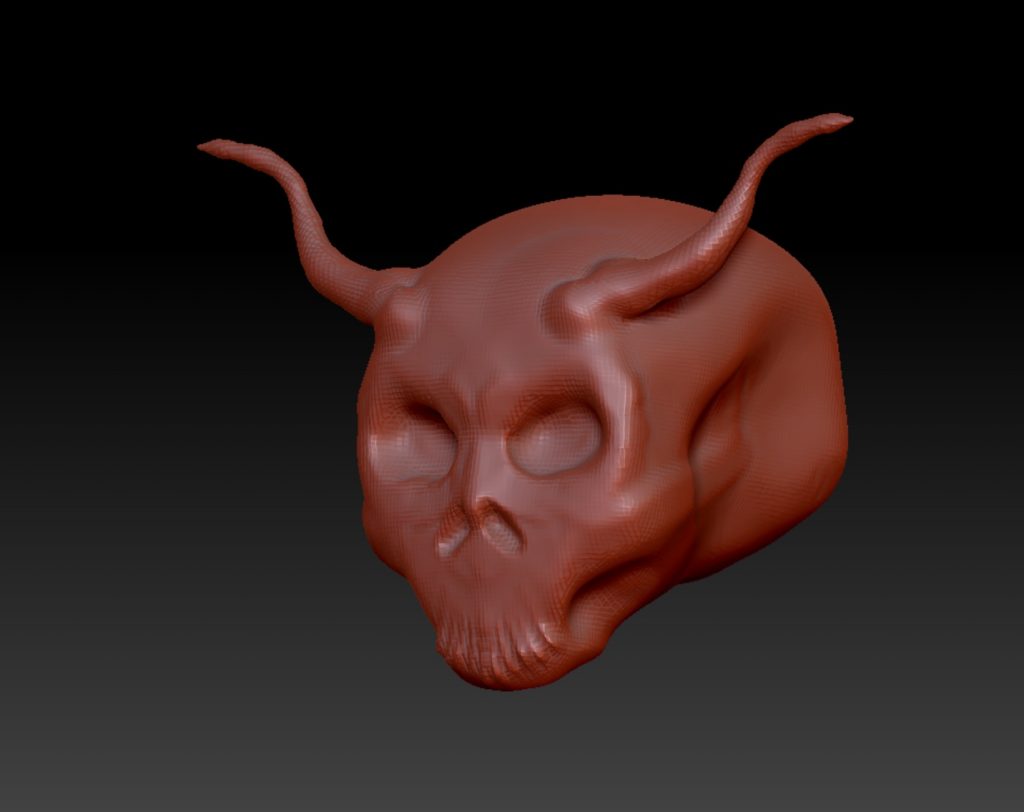
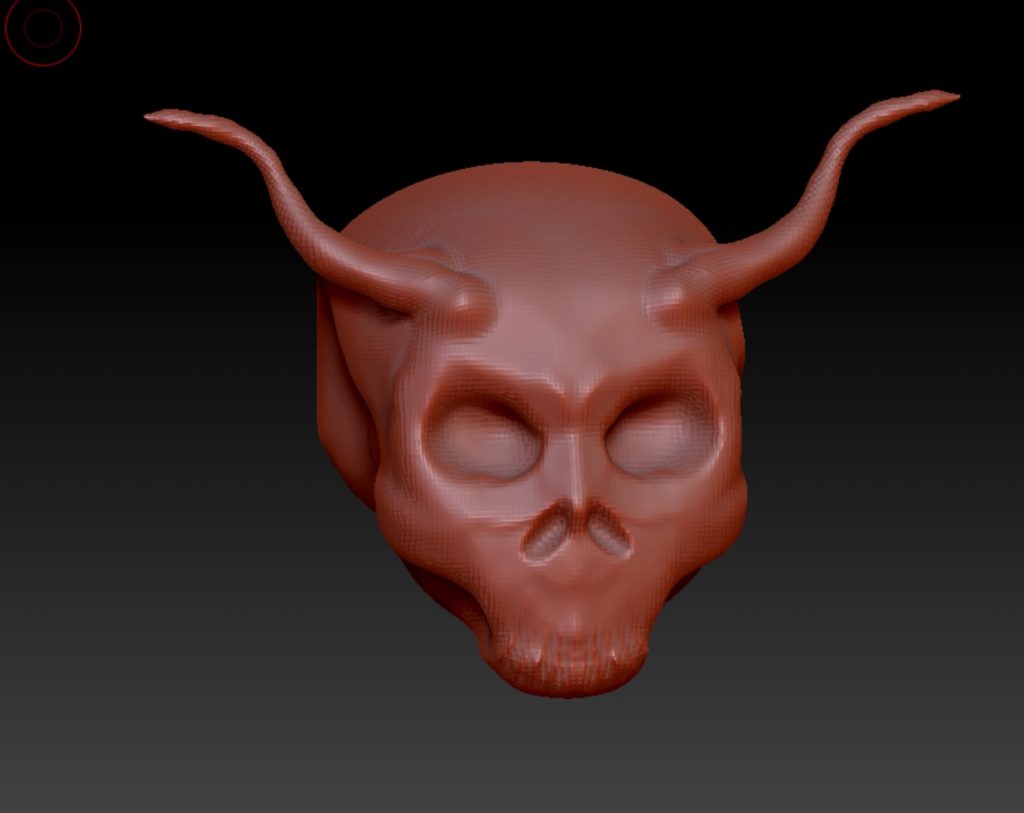
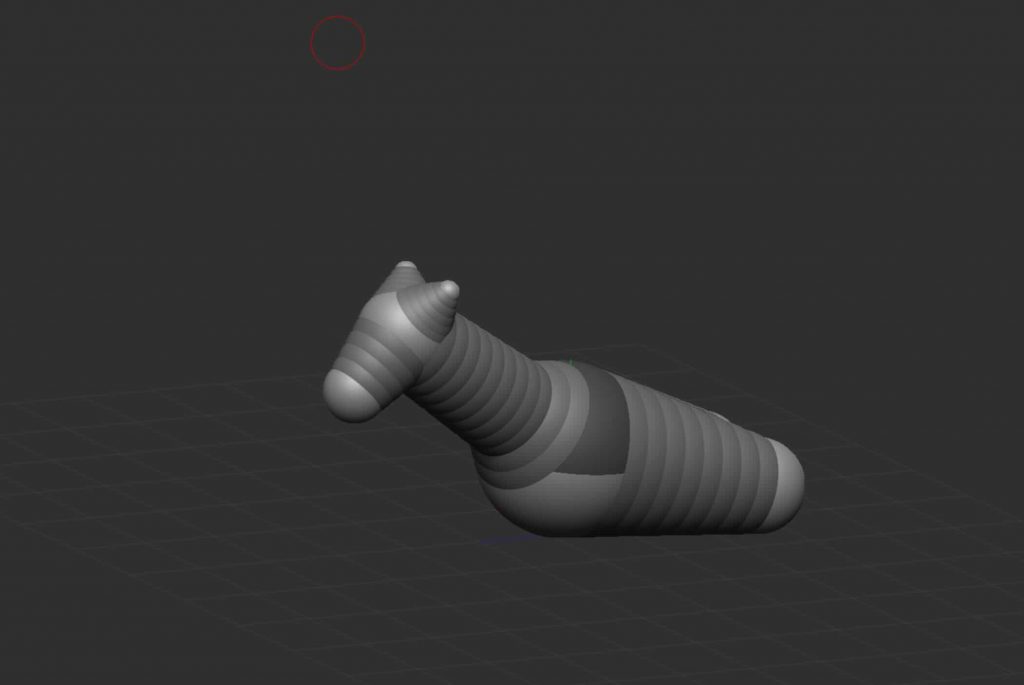
This stage marked our first introduction to ZBrush, where we focused on learning the basics of digital sculpting. The initial exercises explored simple forms and brush controls, allowing us to understand how sculpting differs from traditional polygon modelling. The emphasis was on experimenting with shape, volume, and surface detail rather than producing a finished asset.
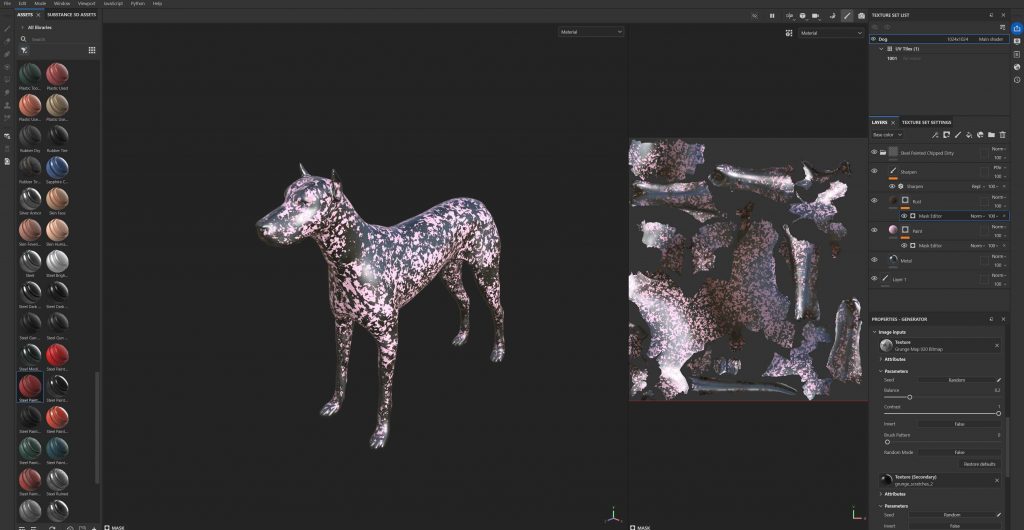
Substance Painter
Following this, we were introduced to Substance Painter for the first time, using it to texture an existing model. This process involved importing the mesh, working with UVs, and experimenting with materials, masks, and texture layers. The transition from sculpting to texturing helped us understand how different software fits into a complete asset pipeline and highlighted the importance of surface detail in bringing a model to life.
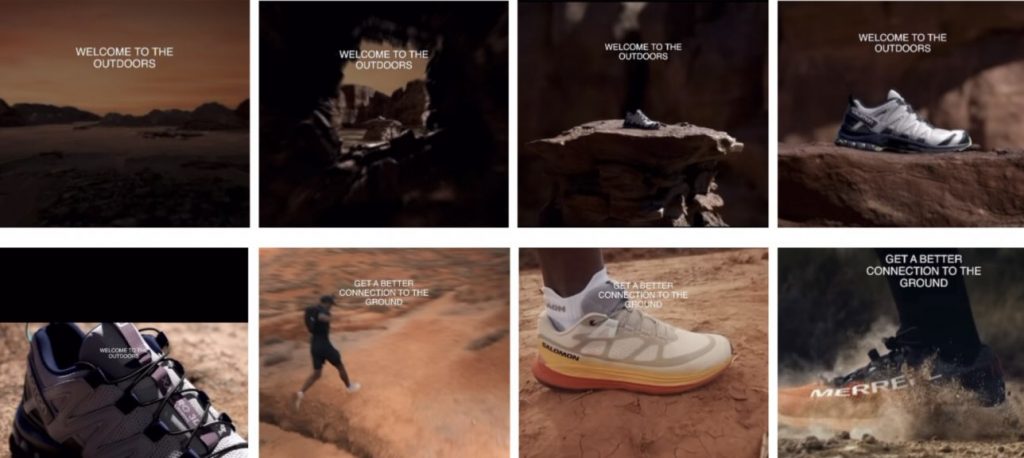
The following section outlines the initial project idea developed for this unit’s assignment. At an early stage, the project was intended to take the form of a commercial concept focused on product visualisation and cinematic effects, inspired by On Running’s trail shoe line and its Missiongrip™ traction technology. As the project progressed and my learning priorities became clearer, I made the decision to change direction. I chose to move away from this concept in order to focus on an environment-led CGI project, which ultimately became the final outcome. Although this initial idea was set aside, it played an important role in shaping my early research and creative thinking for the unit.
Project Summary – “Grip for All Seasons”
For this project, I am producing a 60-second VFX commercial inspired by On Running’s trail shoe line, focusing on their Missiongrip™ traction technology. The aim is to showcase how the shoe adapts to different terrains through a cinematic sequence that blends product visualization, CG environments and motion-driven visual effects.
Concept
The concept, titled “Grip for All Seasons,” communicates the idea that every outdoor run is shaped by its environment. The shoe becomes a symbol of confidence and adaptability — performing consistently across very different terrains.
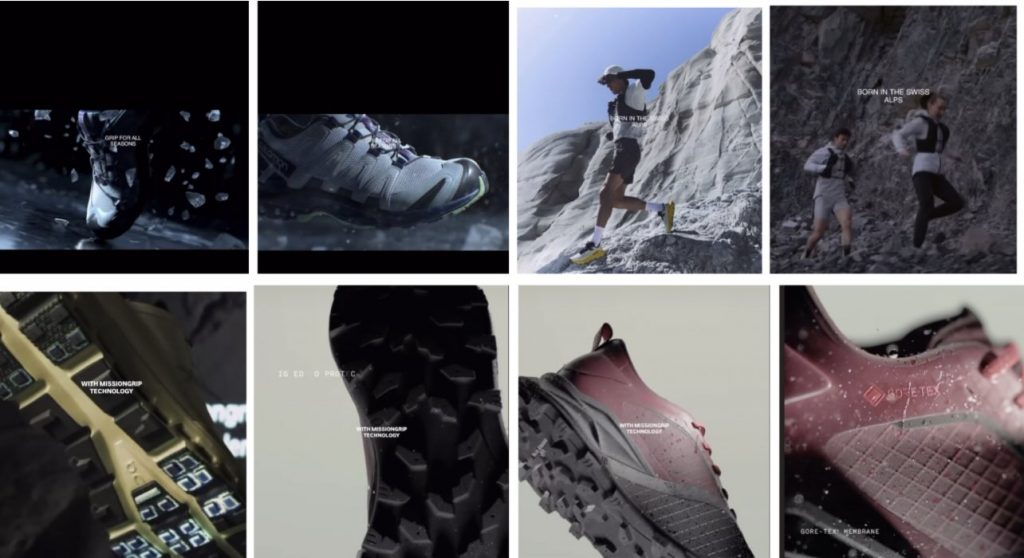
Environments
The short film will be structured around three CG landscapes, each designed and rendered in Unreal Engine:
Desert Cliffs — Grand Canyon Dusty reds, dry rock textures, and warm sunlight. Represents endurance and stability. Mood inspiration: Utah desert canyon walls and rocky ledges.
Swiss Alps — Snow & Rock Bright, crisp lighting with snow patches, cold tones, and dramatic alpine cliffs. Reflects On Running’s origin: “Born in the Swiss Alps.”
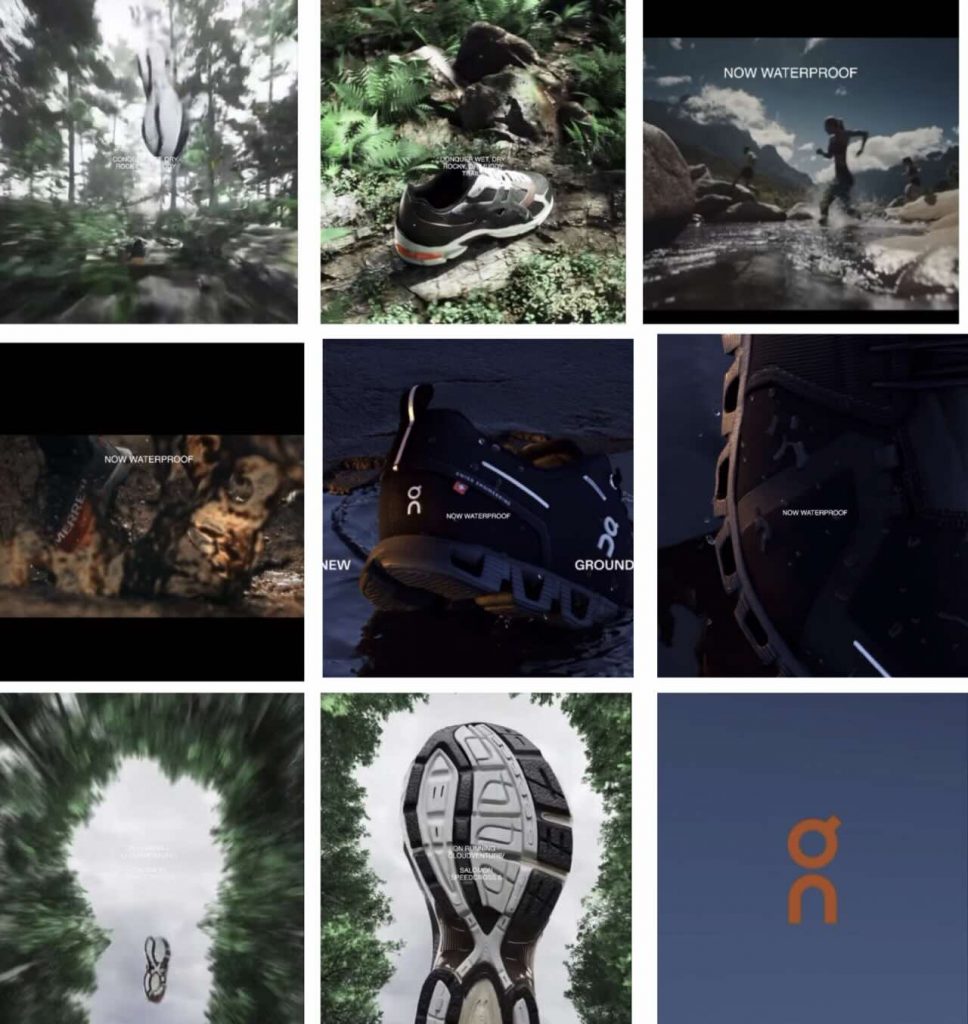
Mountain River — Wet Stones & Splash Mossy rocks, running river water, reflections, and dynamic splashes. Symbolizes movement, energy, and unpredictability.
Technical Approach
The shoe will be modelled in either Cinema 4D or Maya
The shoe texturing will either happen in Redshift/UE
The environment will be created in Unreal Engine
I modelled my first ever shoe, in C4D:
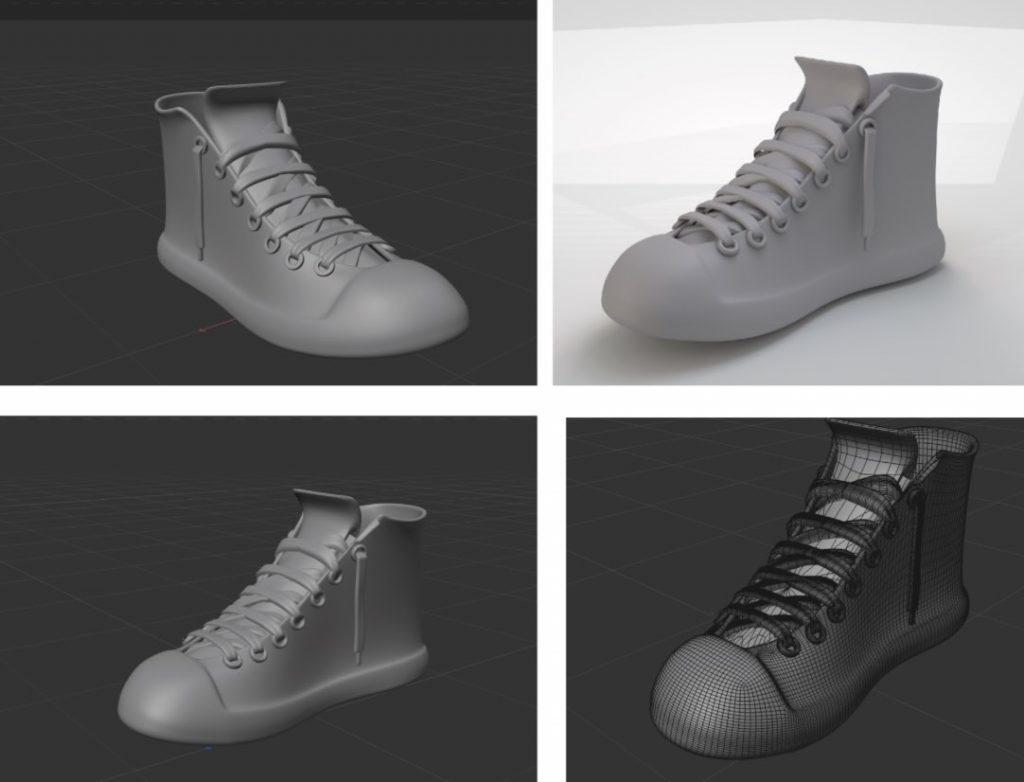
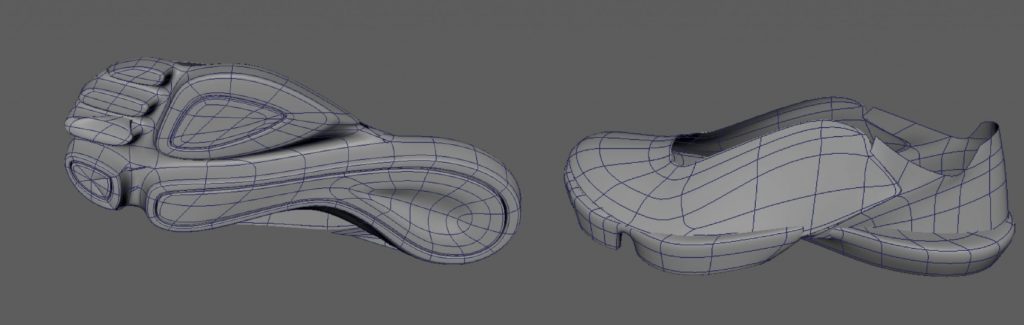
Then I started modelling a more complex shoe in Maya:
3 Environments:
1st Environment – Desert Cliffs, Grand Canyon
2nd Environment – the Swiss Alps:
3rd Environment – Forest in the Mountains by the River
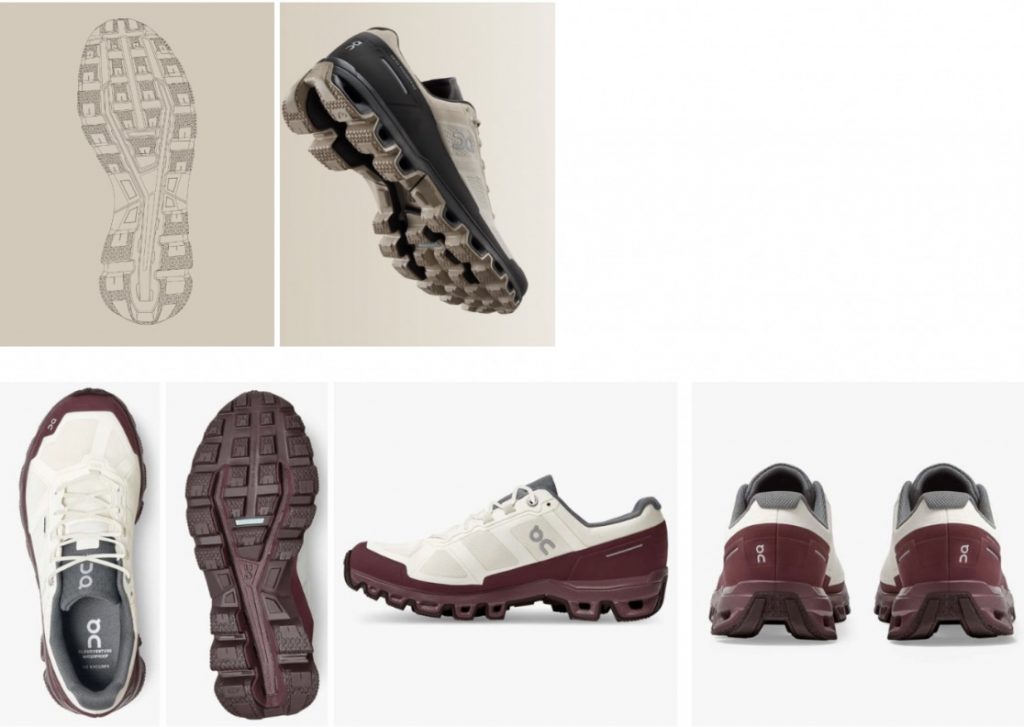
These are the chosen shoes that I am going to model:
ON Running – Cloudventure Waterproof, Trail running shoe
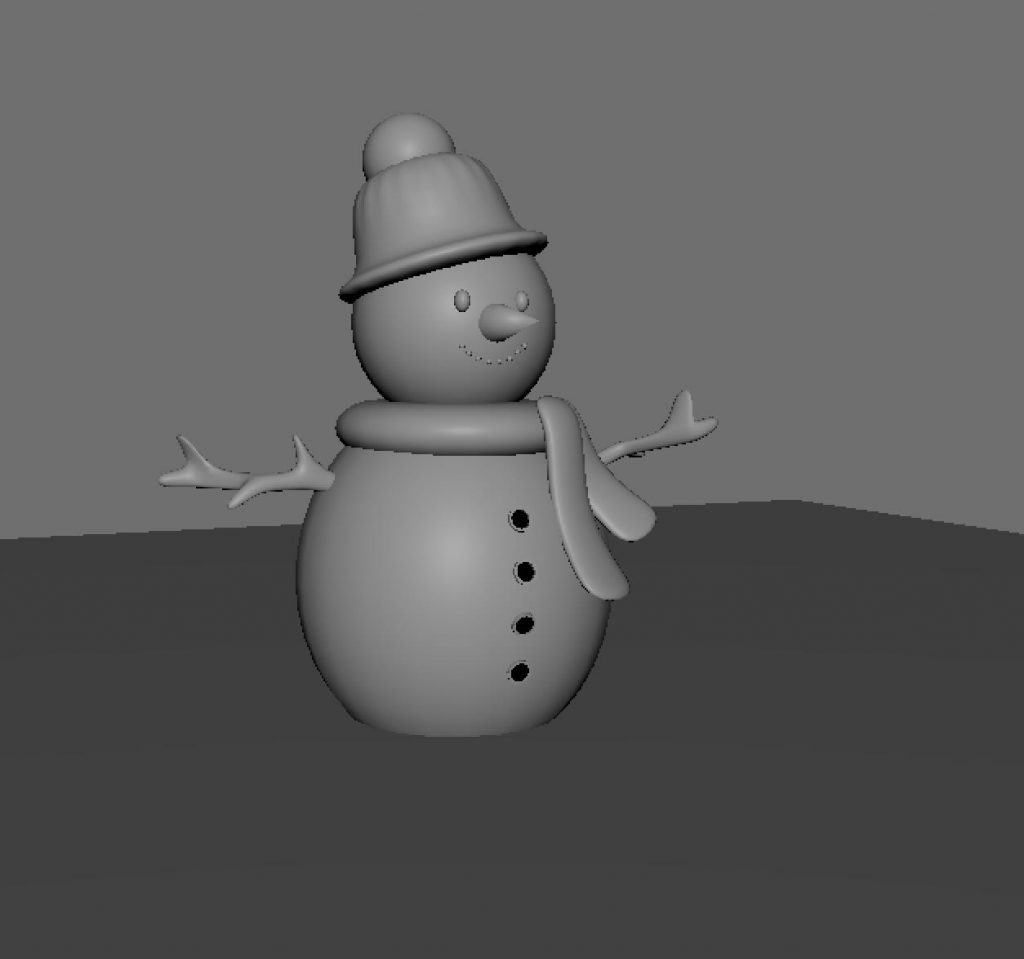
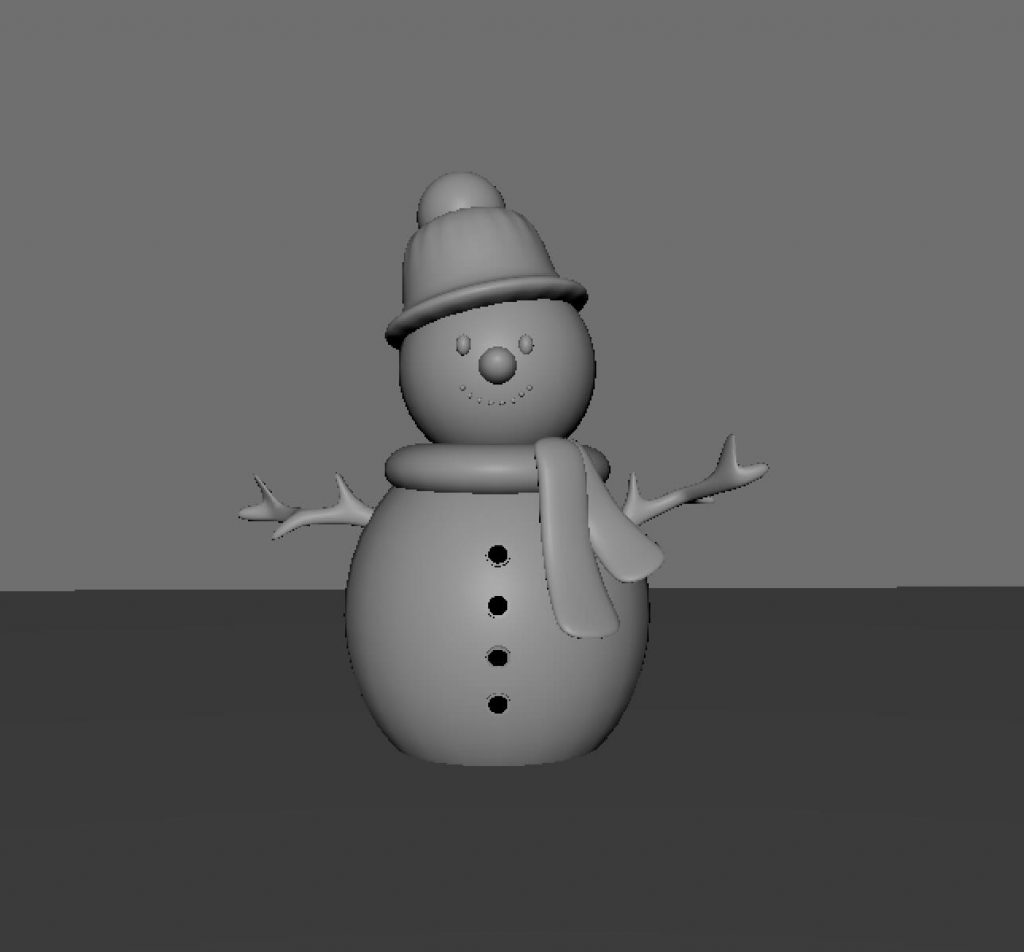
This was our very first task in Maya and also our first introduction to the software. The exercise focused on becoming familiar with the interface and basic modelling tools, using simple shapes to build a character. It helped us understand fundamental concepts such as form, proportion, and navigation within Maya.
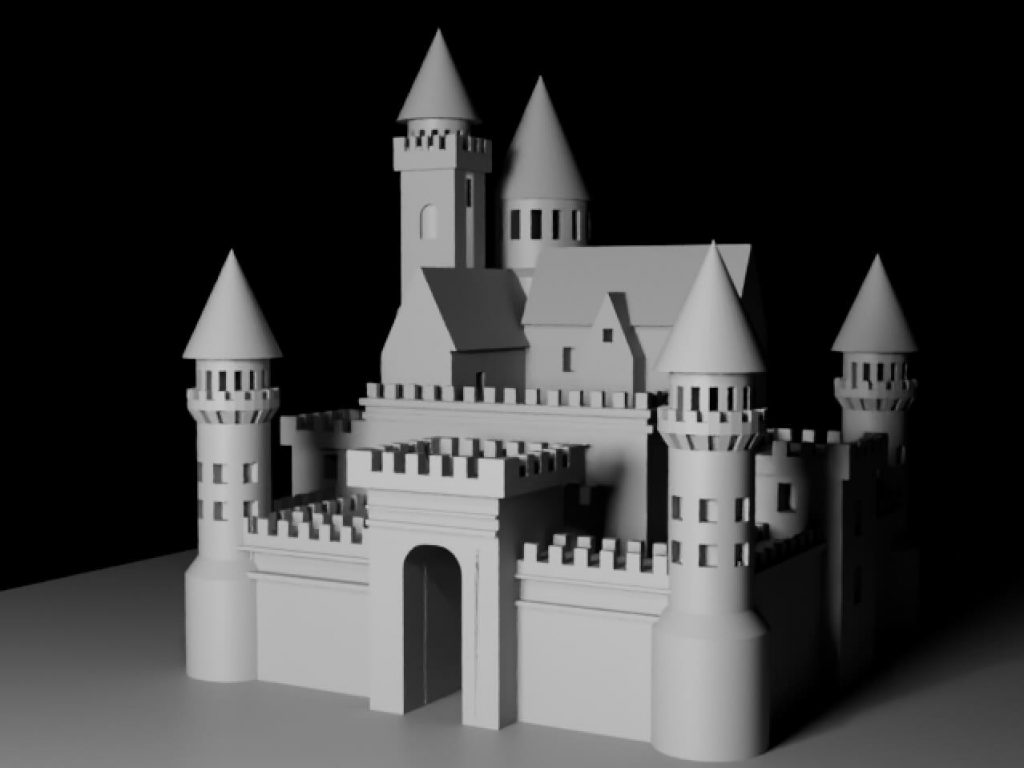
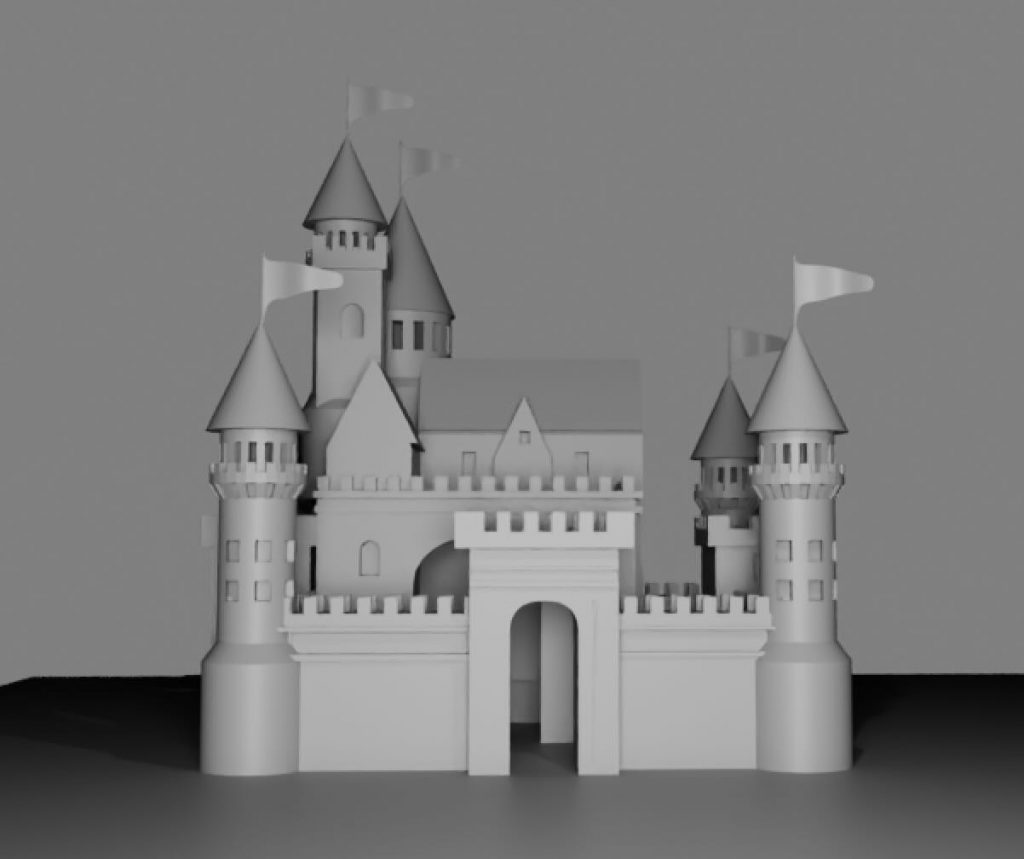
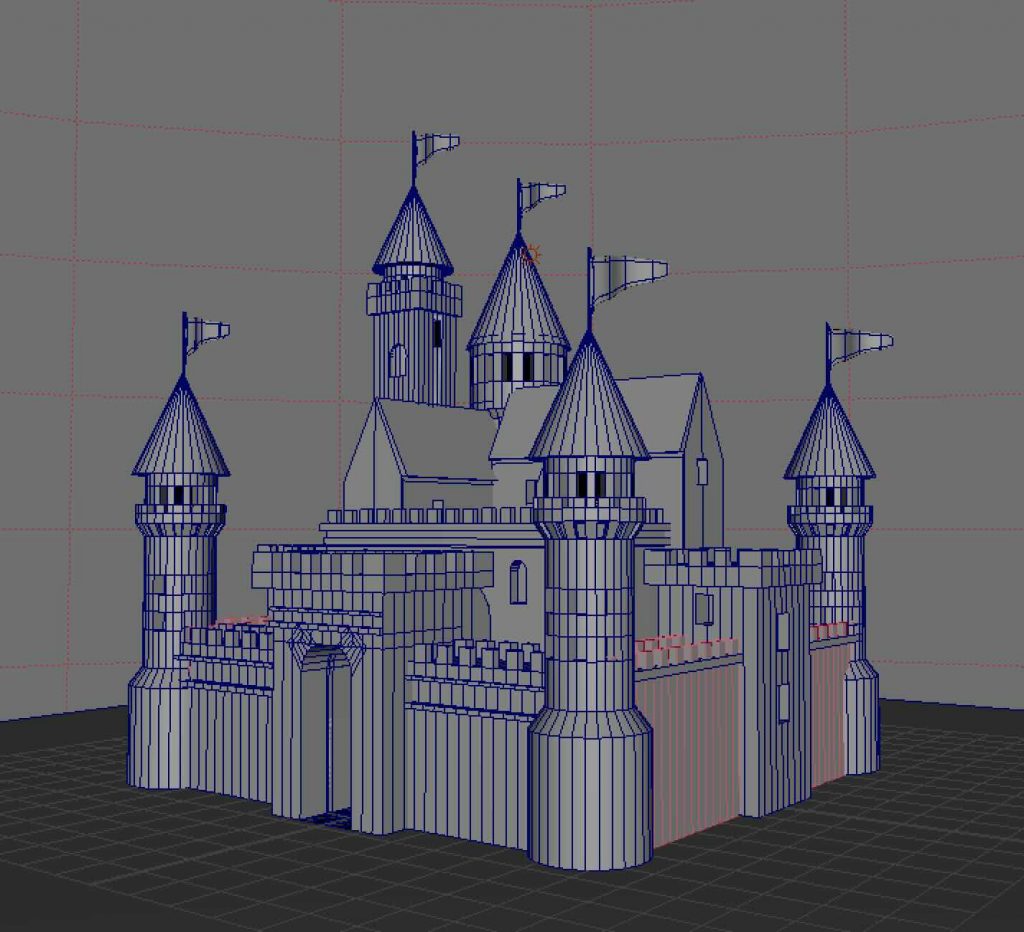
Castle
The castle was our first homework assignment in Maya and was designed to help us become more comfortable working independently in the software. The focus was on combining basic geometric shapes into a larger structure while maintaining balance and consistency. This task reinforced core modelling principles and increased our confidence using Maya outside of class.
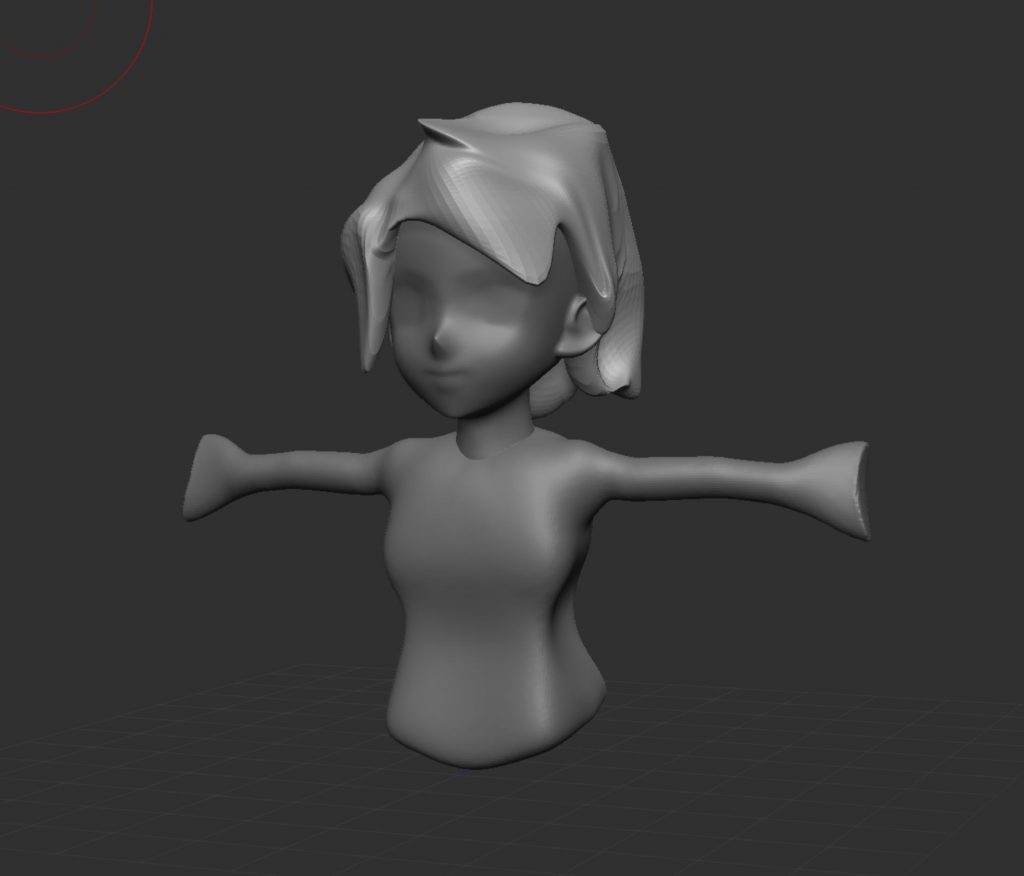
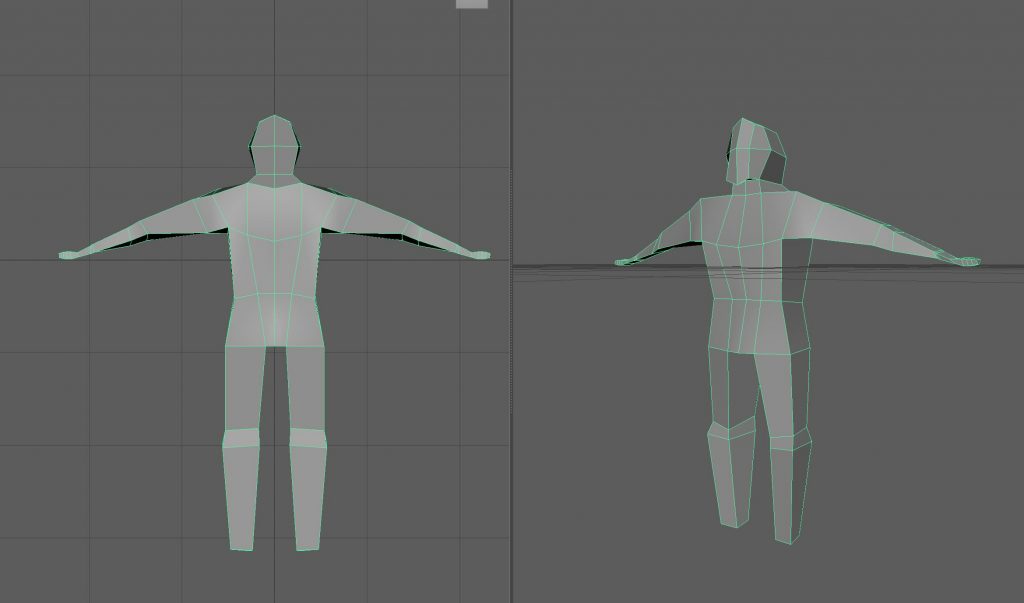
Human body (box modelling)
This in-class exercise introduced us to the basics of human body proportions through box modelling. The aim was not to create a detailed character, but to understand structure, symmetry, and overall form. This task provided a foundation for character modelling workflows used later in the unit.
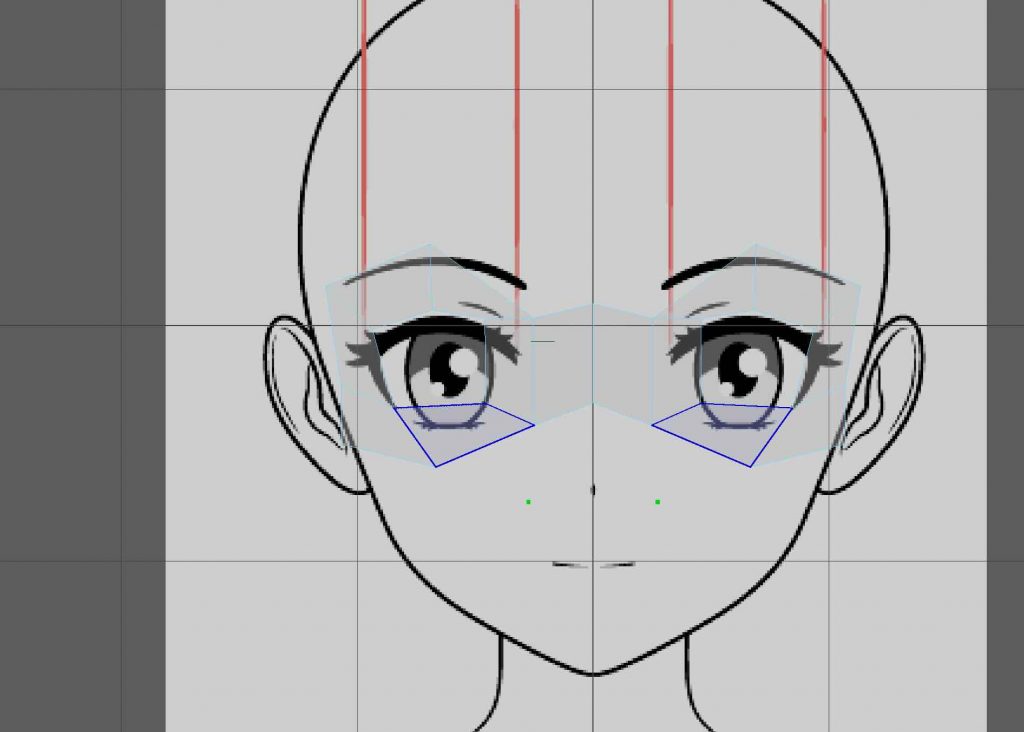
Topology-based modelling (using Quad Draw)
At this stage, we began building up the face using Quad Draw as an alternative modelling approach. This exercise helped us understand that box modelling is not the only way to construct a character, and introduced a more topology-focused workflow. Working in this way encouraged us to think more carefully about edge flow, structure, and how forms are built gradually rather than from predefined shapes.
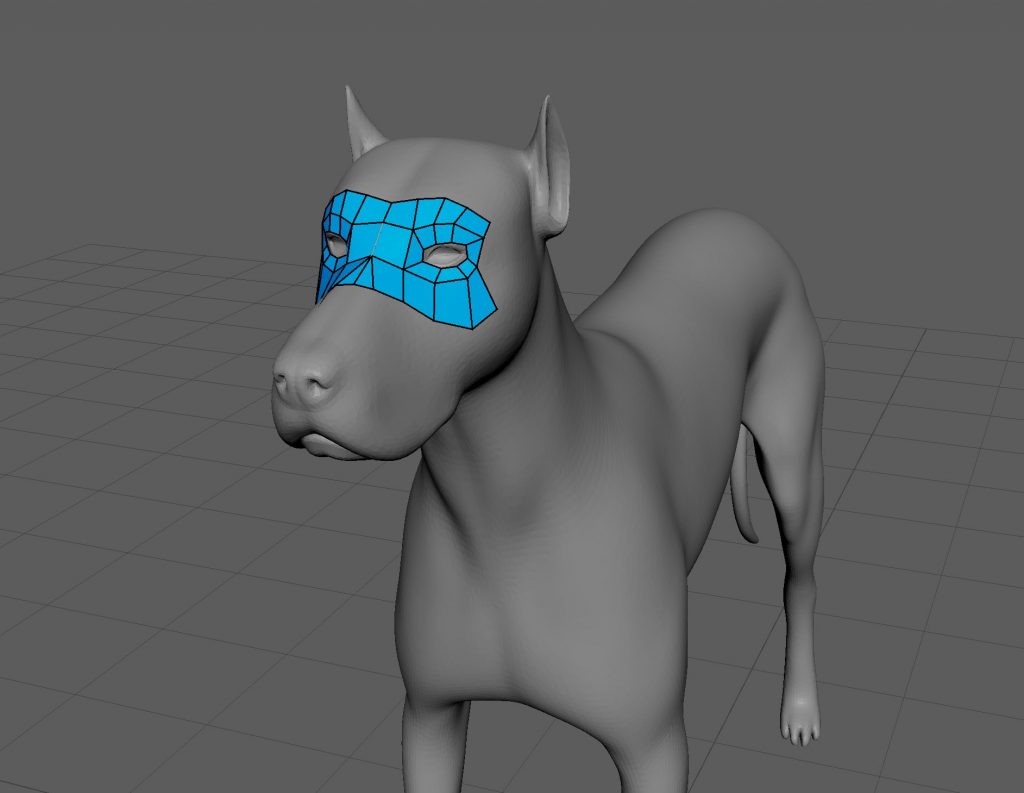
Retopology with Quad Draw
This task introduced us to retopology using Quad Draw in Maya. By working on the dog model, we learned how to rebuild clean topology over an existing mesh, focusing on edge flow and deformation. This was our first experience with retopology tools and highlighted their importance for creating animation-ready models.
Texturing & UVs
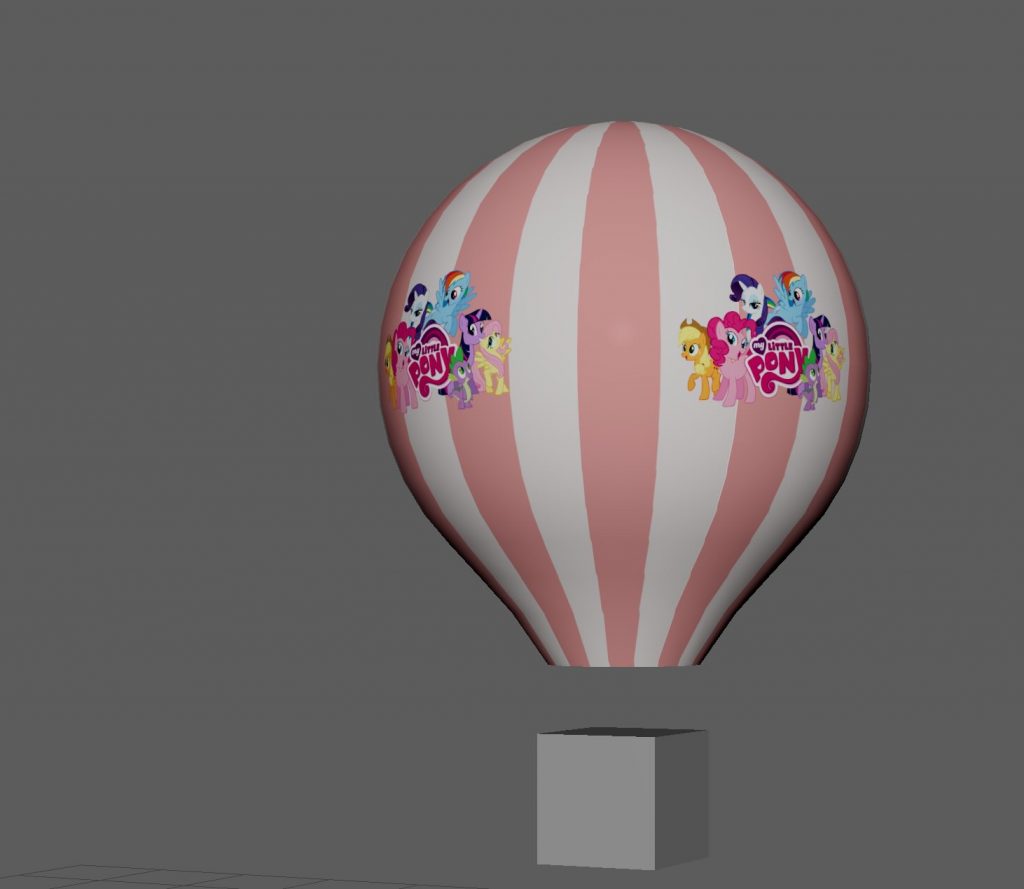
The hot air balloon was created as an introduction to texturing and UV mapping in Maya. The focus was on learning how to unwrap UVs and apply textures correctly to a model. Keeping the model simple allowed us to concentrate on understanding UV layouts and how textures interact with geometry.
Character rigging:
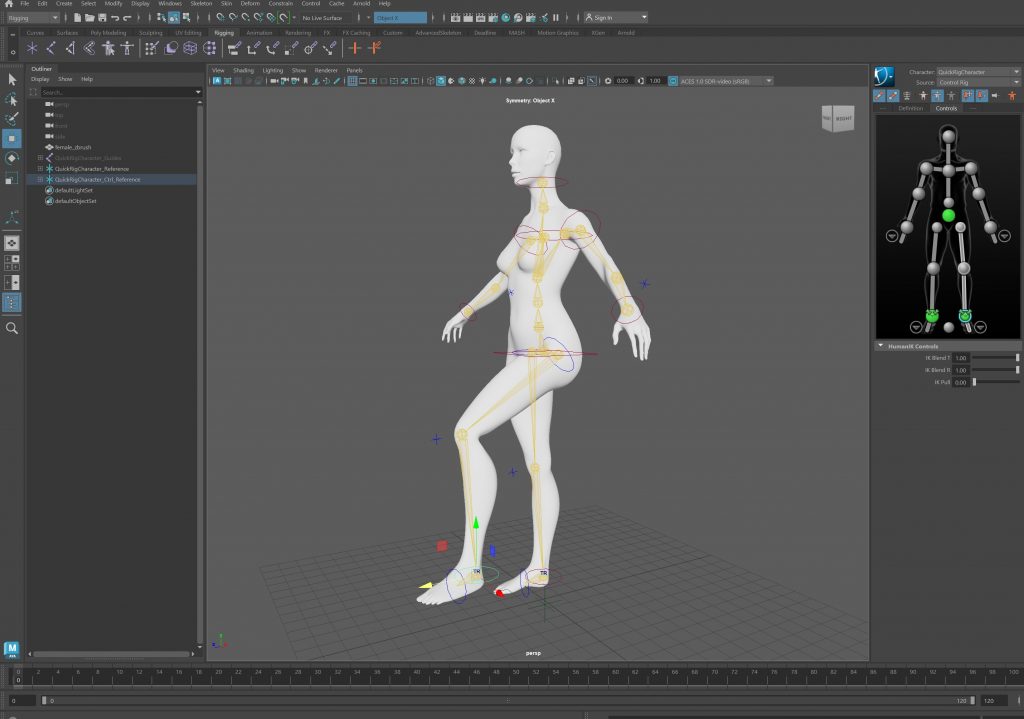
Human – Quick Rig
We began by using Quick Rig on the human character as an introduction to character rigging. This allowed us to quickly generate a functional skeleton and understand how joints are placed and connected within a humanoid form. Working with an automated rig helped us focus on observing movement and proportions rather than building everything from scratch, making it easier to grasp the fundamentals of character rigging.
Animation Loop
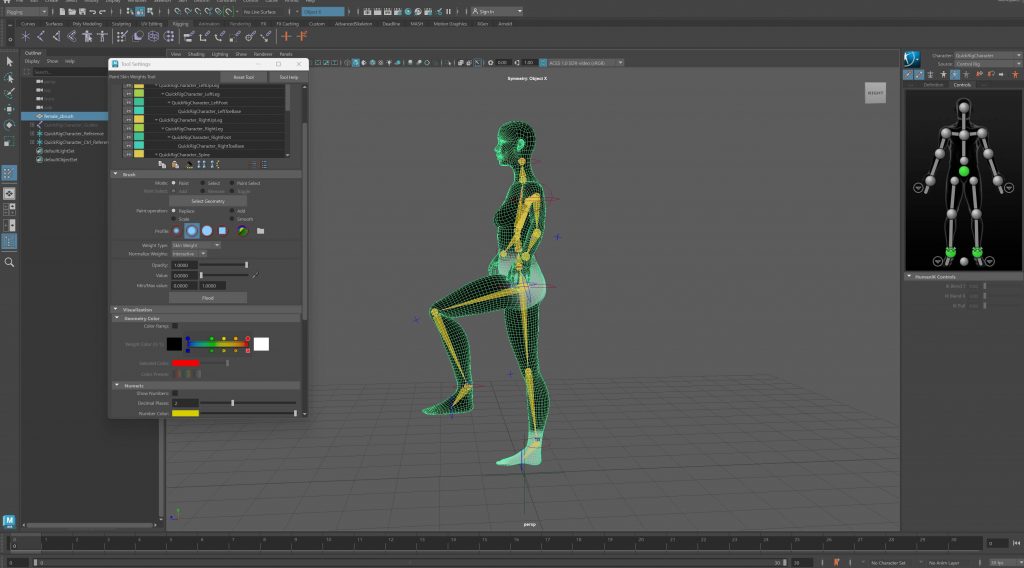
To test the rig, we created a simple animation loop. This helped us evaluate how the character moved, how the joints interacted, and whether the overall motion felt balanced and believable. Creating this loop made it easier to identify areas that needed adjustment and encouraged us to think about movement as a continuous, flowing process rather than a single pose.
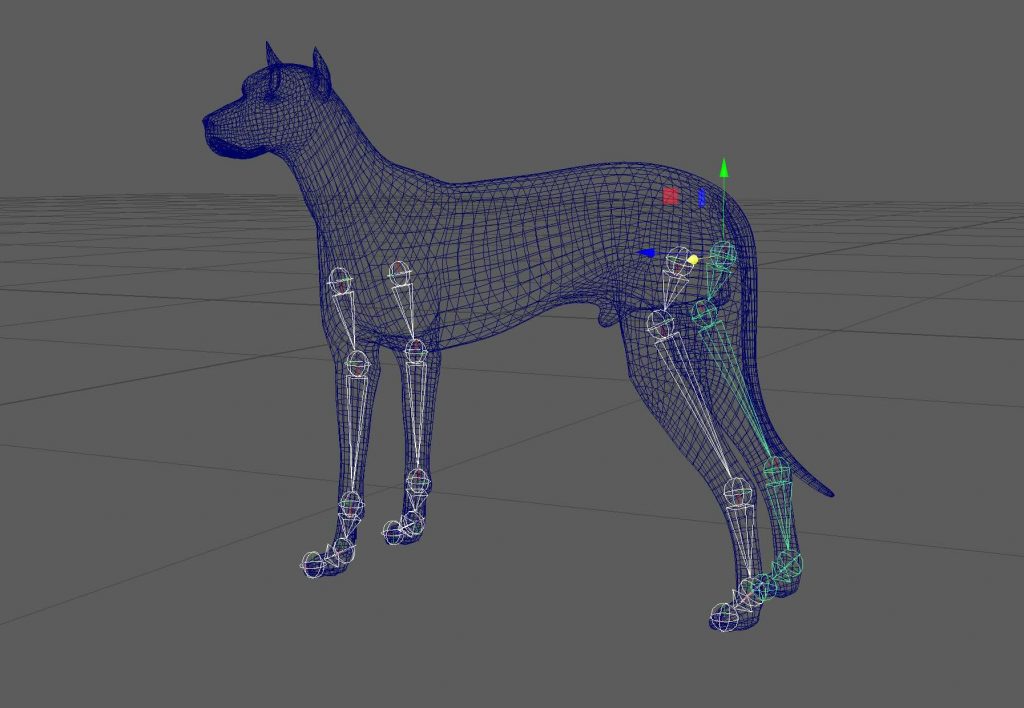
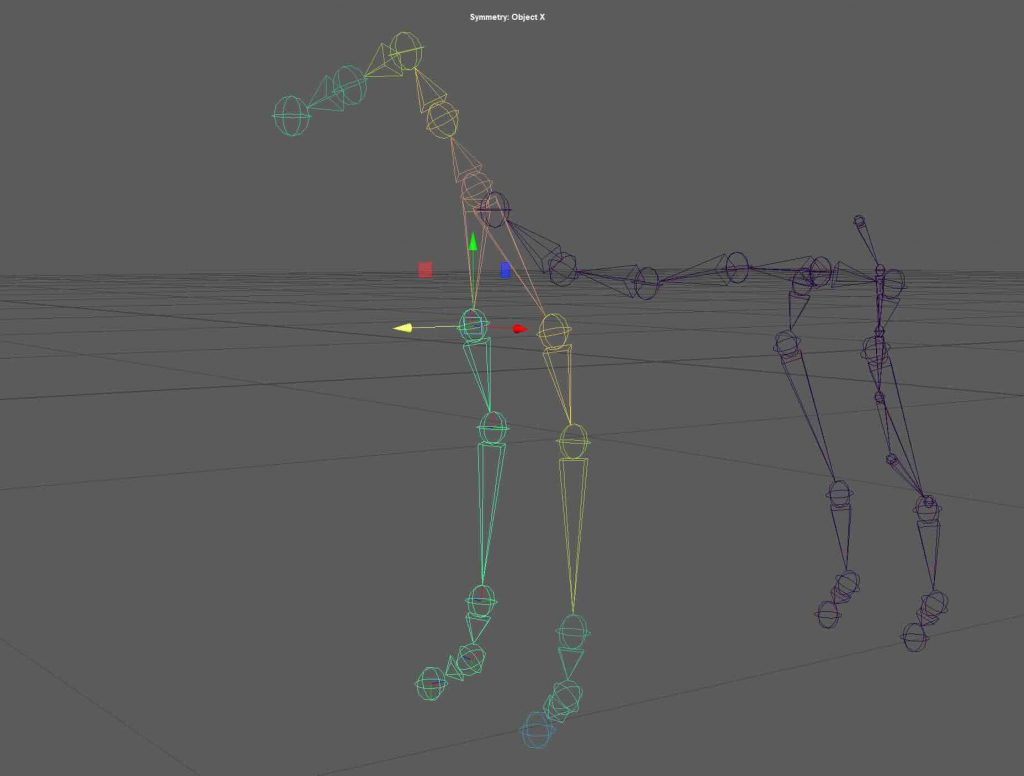
Dog – Manual Rigging
For the dog, we moved away from automated solutions and built the rig manually using Create Joints. This approach required more precision and planning, especially in relation to anatomy and joint placement. We refined the skin weights to ensure the mesh deformed smoothly and added IK handles and basic controllers to make the rig easier to pose and animate. This process gave us a deeper understanding of how rigging works at a structural level.
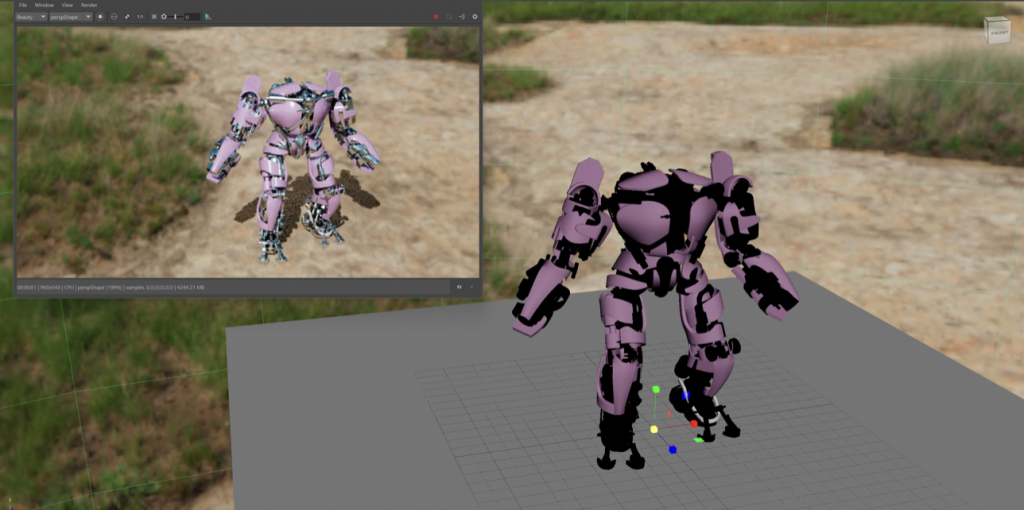
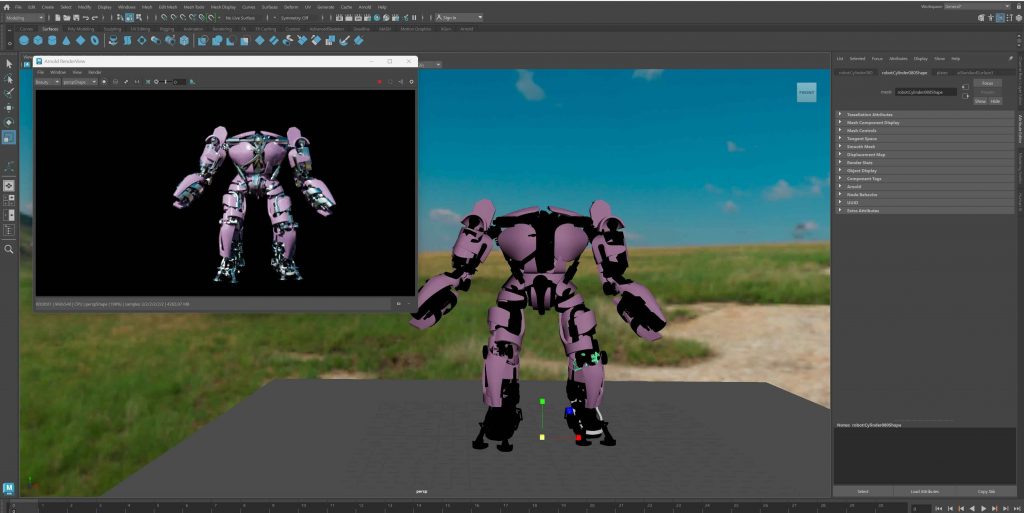
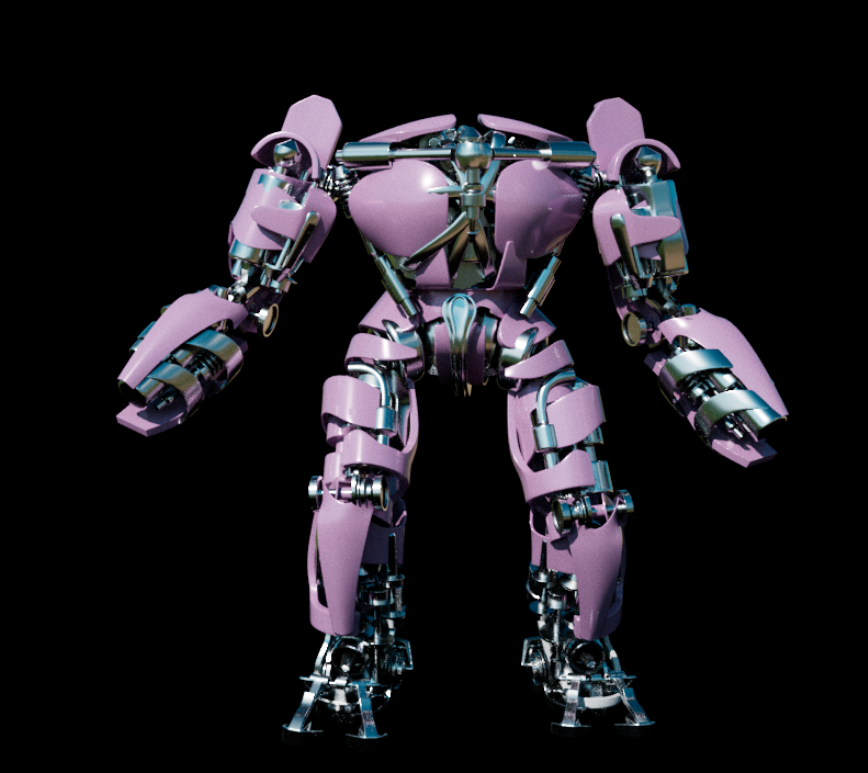
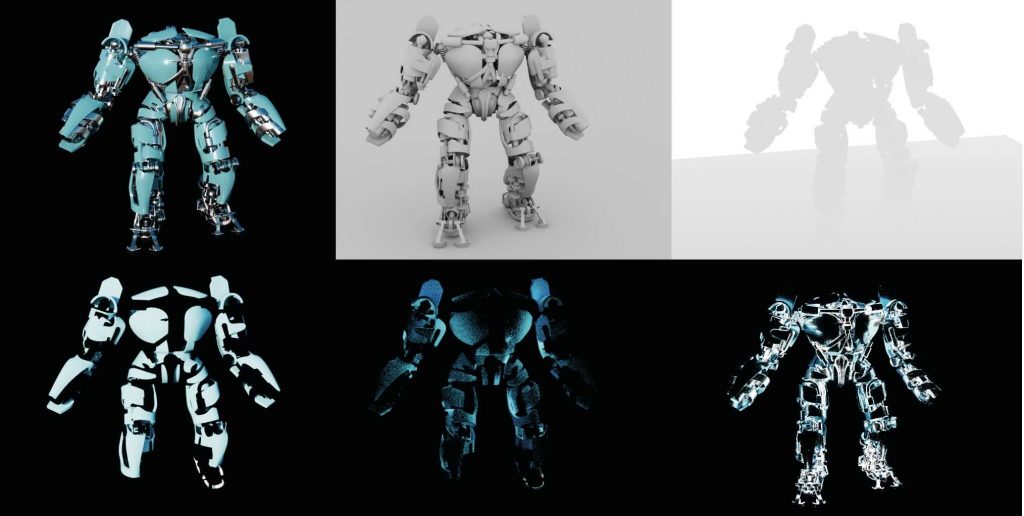
Rendering in Maya:
We learned how to render our models in Maya by working with an HDRI backdrop to establish realistic lighting and overall mood. The HDRI was used as a light source rather than a visible background, allowing us to control how the model was illuminated while keeping the focus on the asset itself. We then rendered the model using multiple render passes, which helped us understand how different elements of the image can be separated and adjusted later.
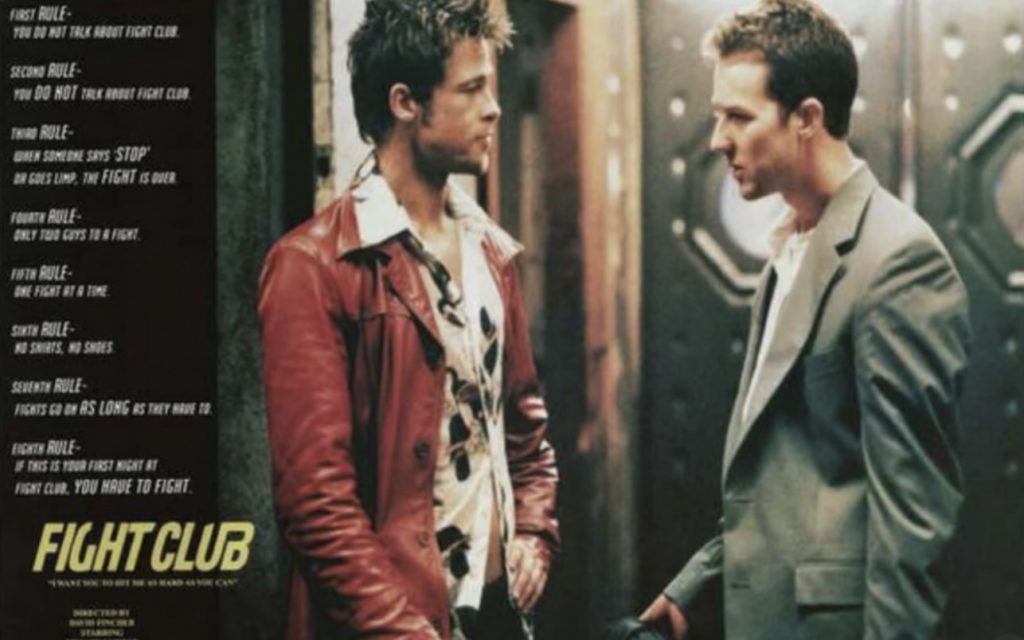
At first, as a woman, I found Fight Club extremely difficult to watch. It felt aggressive, alienating, and emotionally uncomfortable—something I struggled to relate to. However, even after it ended, I couldn’t stop thinking about it. The film lingered in my mind and gradually began to make more sense. I came to understand that the discomfort was intentional and part of its core message. Fight Club does not glorify violence—it exposes what happens when identity, vulnerability, and emotional expression are suppressed. With distance, I now see the bigger picture: it is a stark, critical examination of toxic masculinity and existential crisis in modern society.
Story Arc Breakdown – The 8 Stages
1. You – The narrator begins the story in a zone of comfort. He is a corporate employee suffering from chronic insomnia and emotional detachment. His life is repetitive, materialistic, and unfulfilling.
2. Need – He starts to feel that something is deeply wrong. He craves meaning and real human emotion. He begins attending support groups to feel something, even if it’s pain.
3. Go – After meeting Tyler Durden, a mysterious and confident soap salesman, he moves in with him. Together, they start Fight Club—an underground group where men fight as a form of emotional release.
4. Search – The narrator immerses himself in this new world. He finds community, adrenaline, and a sense of purpose. Fight Club grows into something much larger than he intended.
5. Find – He gets what he thought he wanted: freedom from his old self and a new identity through chaos and rebellion. However, this new life begins to spiral out of control.
6.Take – The cost of this freedom becomes clear. Project Mayhem, the extremist evolution of Fight Club, causes real destruction. The narrator realizes that Tyler has become dangerous.
7. Return – He tries to undo the damage and stop Tyler. He wants to return to some form of control and take responsibility for what has happened.
8. Change – In the end, he comes to a dramatic realization about his identity and takes action to reclaim his autonomy. The narrator is fundamentally changed by the journey he has taken.
Character Archetypes
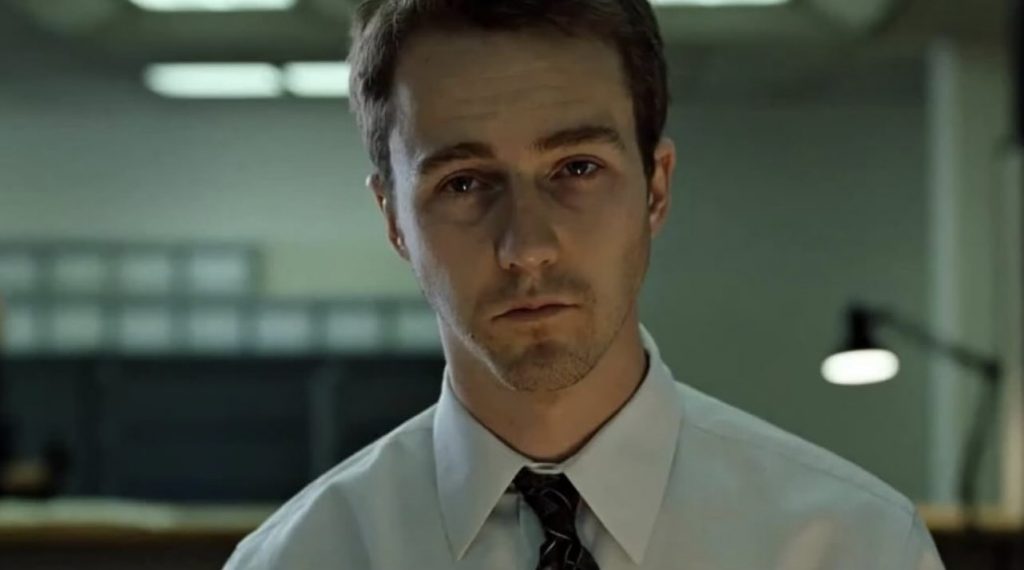
Screenshot
The Narrator (played by Edward Norton) – He is the protagonist and a “Seeker” archetype. His journey is driven by the desire to find truth and meaning beyond the superficial structure of his daily life. He is a dynamic character, meaning he undergoes significant change by the end of the story.
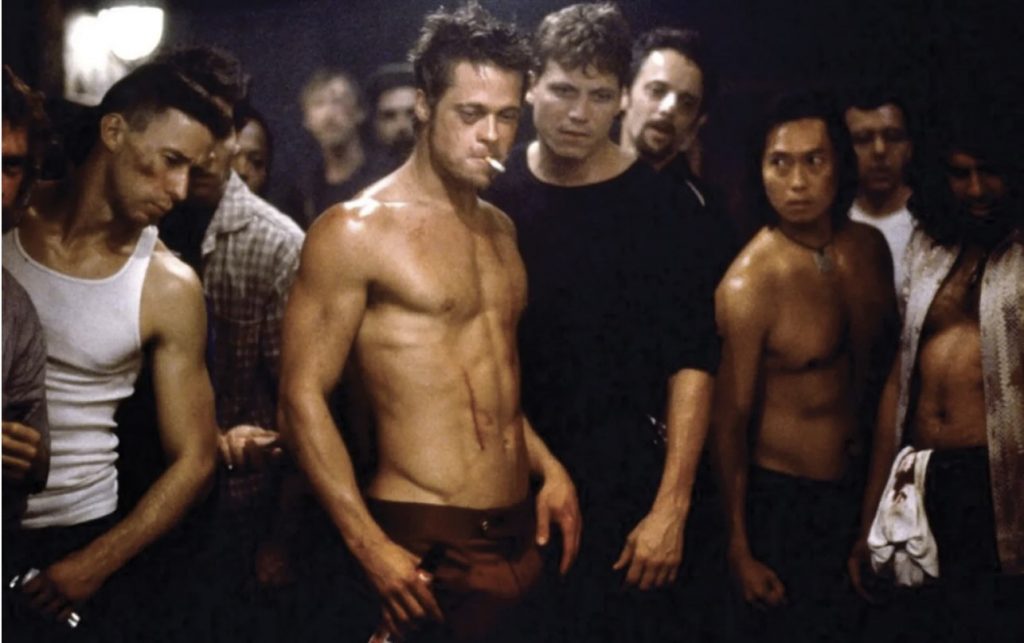
Screenshot
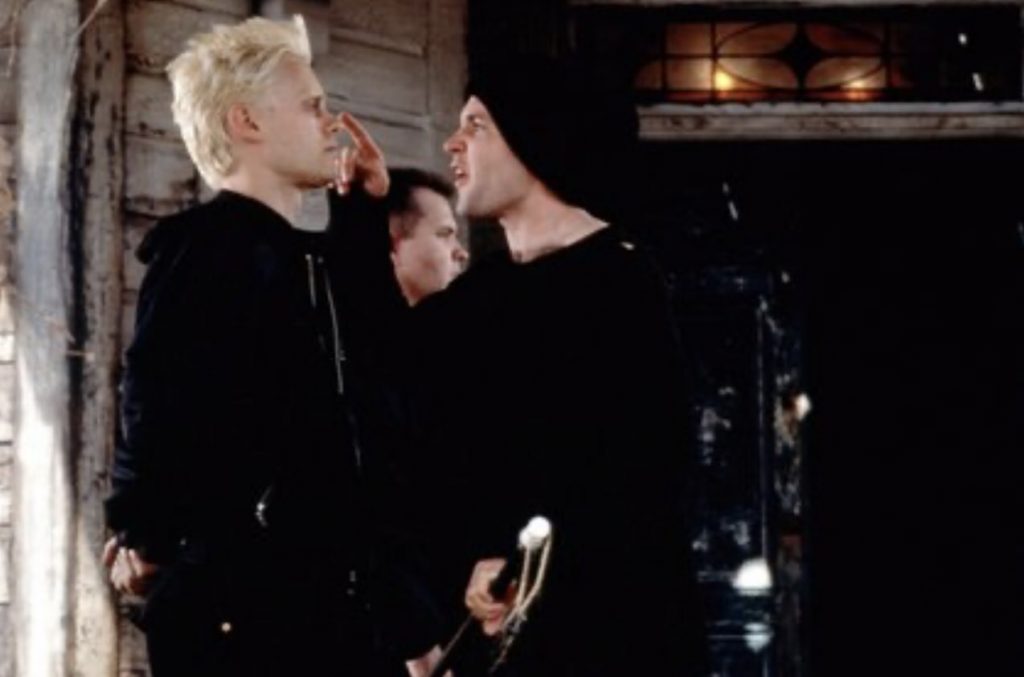
Tyler Durden (played by Brad Pitt) – He represents the Shadow archetype. Tyler embodies the narrator’s suppressed desires, including aggression, rebellion, and freedom. He acts as both an antagonist and a manifestation of the narrator’s inner conflict. Tyler is a static character, meaning he does not change—he is a constant symbol of chaos.
Screenshot
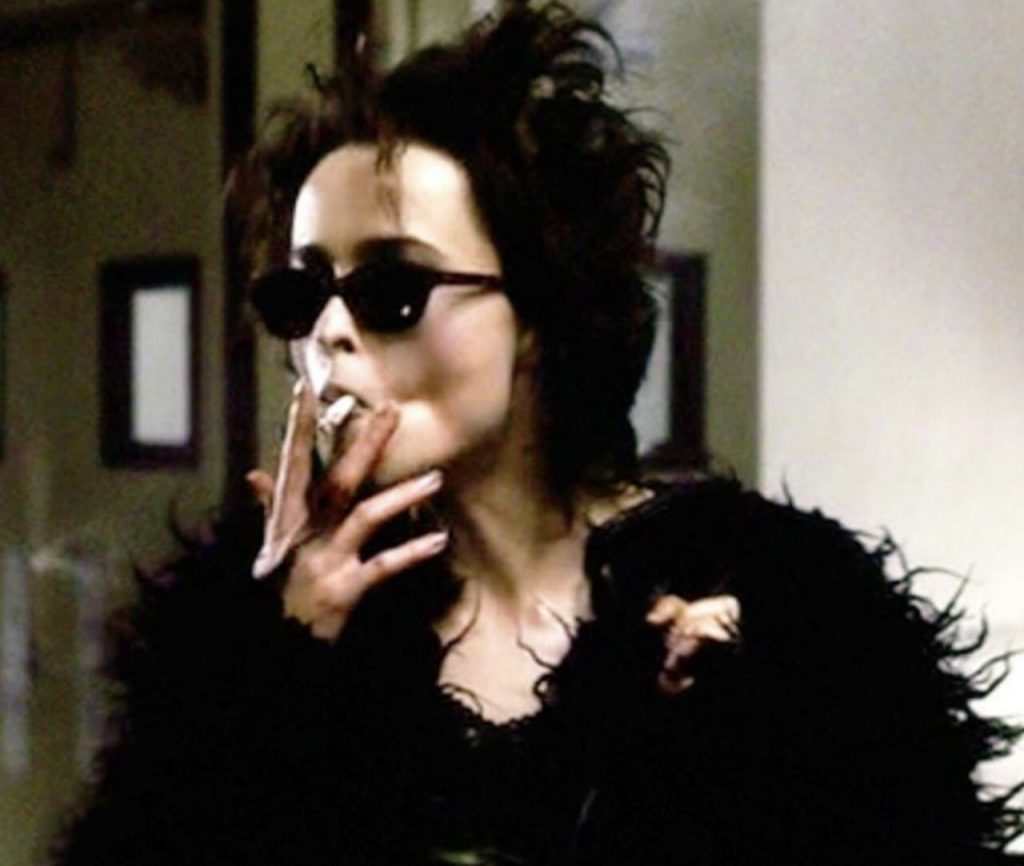
Marla Singer (played by Helena Bonham Carter) – Marla is the narrator’s love interest, but she also functions as a Trickster. She disrupts the narrator’s routine and reflects his emotional confusion. While her development is limited, she plays a key role in grounding the narrator in reality.
Screenshot
Project Mayhem Members (various actors) – These characters are symbolic of the loss of individuality. They serve as blind followers of Tyler’s philosophy, representing how easily people can lose their identities when seeking purpose through ideology or rebellion.
Timeline of the Narrator Before the Events of the Film (Interpretative)
Childhood to Teen Years (0–18): The narrator likely grew up in a household shaped by emotional distance or instability—perhaps with divorced parents or a lack of consistent emotional support. His tendency to repress emotion and avoid confrontation suggests early experiences where vulnerability was neither safe nor encouraged. This interpretation helps explain his deep struggle with identity, connection, and self-expression in adulthood.
Young Adulthood (18–25): He completes his education, likely studying something conventional and uninspiring—perhaps business, finance, or a similarly “safe” and soulless field—rather than following a genuine passion. He enters the corporate world and begins to shape his identity through job performance, brand loyalty, and material possessions, mistaking external success for emotional fulfillment.
Mid to Late 20s: Despite appearing to lead a stable and successful life, he feels increasingly empty. The internal void becomes impossible to ignore. He develops chronic insomnia, unable to sleep or find rest, trapped in a cycle of emotional numbness and quiet desperation.
The Film Begins: In a search for real feeling, he begins attending support groups for people with terminal illnesses—despite being perfectly healthy. These groups offer a rare sense of emotional release and human connection. However, this coping mechanism marks the collapse of his emotional defenses. Not long after, his alter ego, Tyler Durden, emerges—a psychological projection of everything he has suppressed: aggression, instinct, rebellion, and the need for meaning.