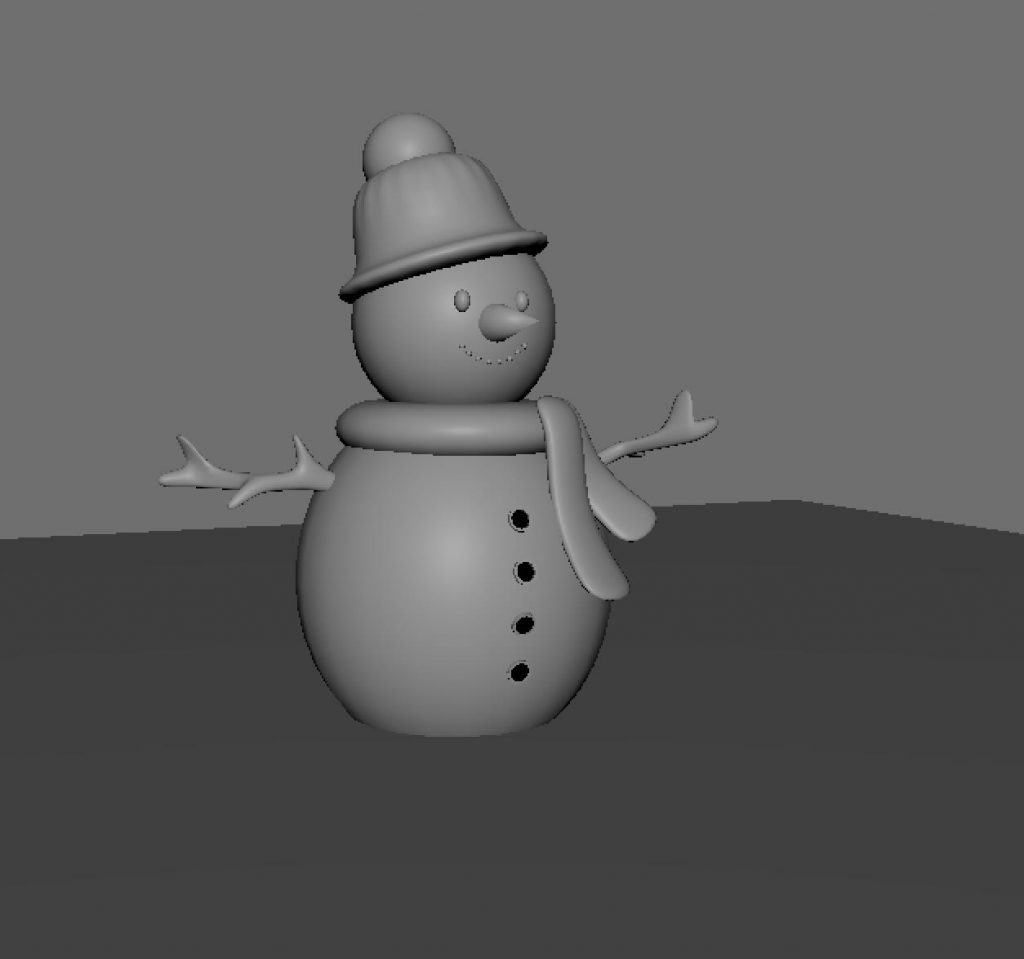
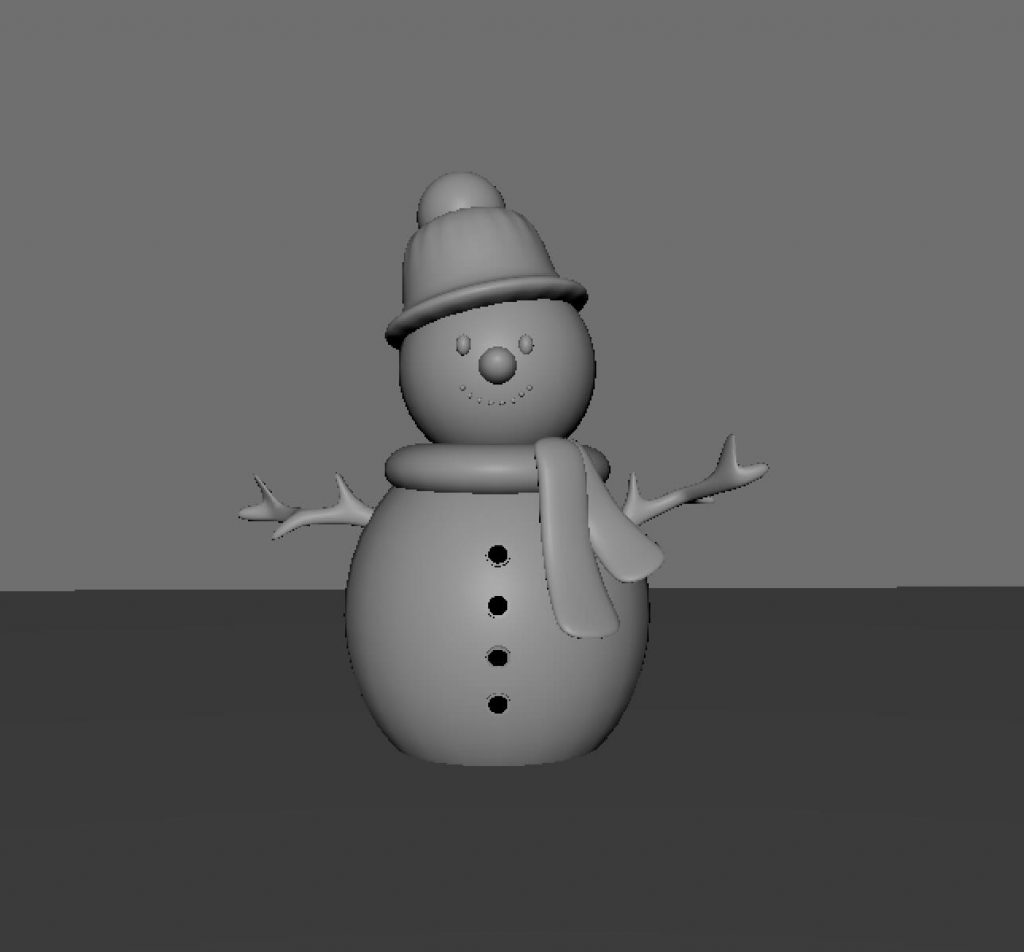
Snowman
This was our very first task in Maya and also our first introduction to the software. The exercise focused on becoming familiar with the interface and basic modelling tools, using simple shapes to build a character. It helped us understand fundamental concepts such as form, proportion, and navigation within Maya.
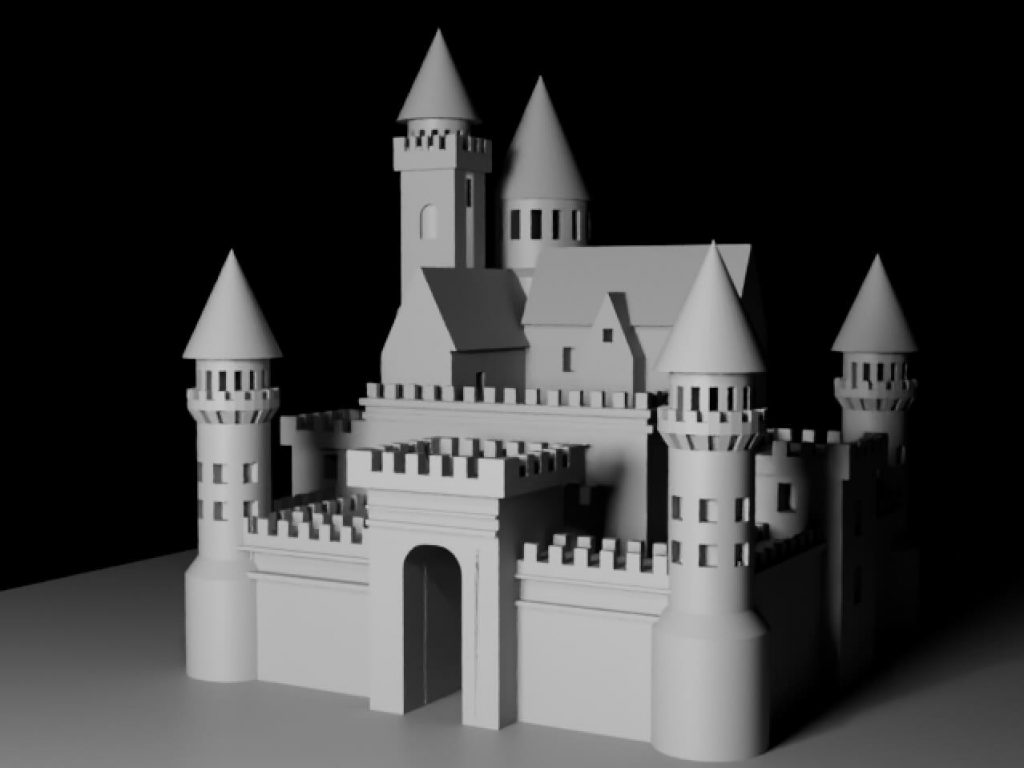
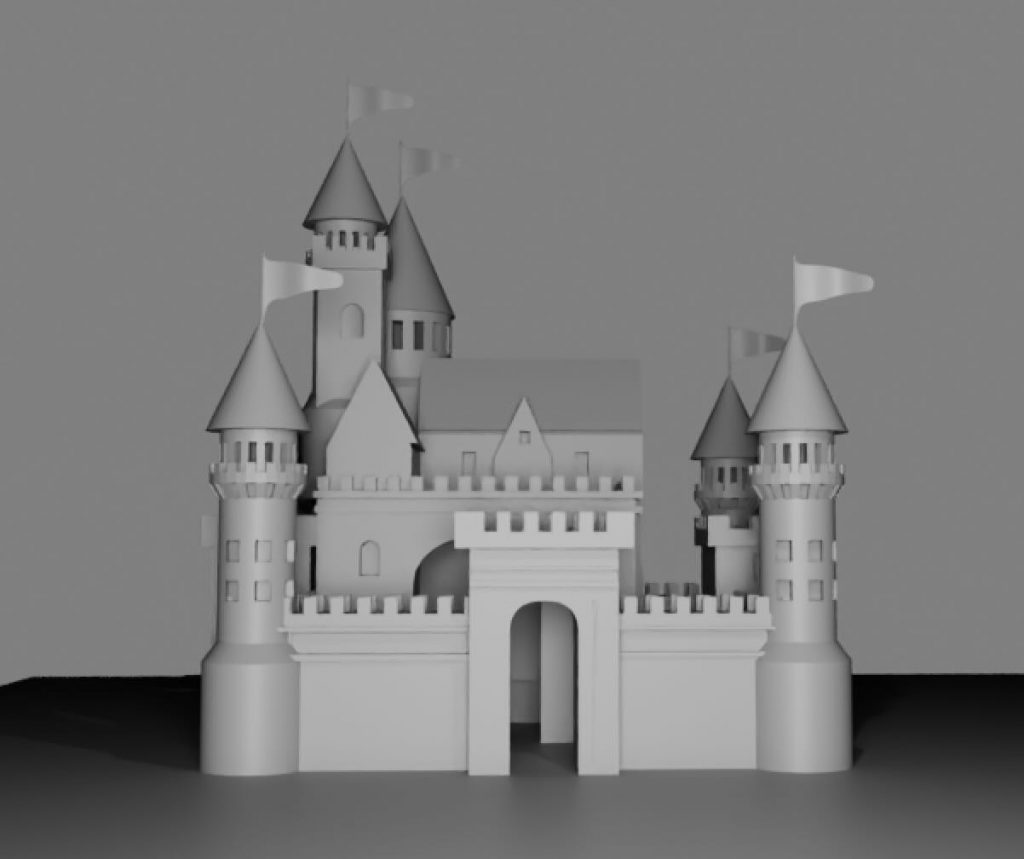
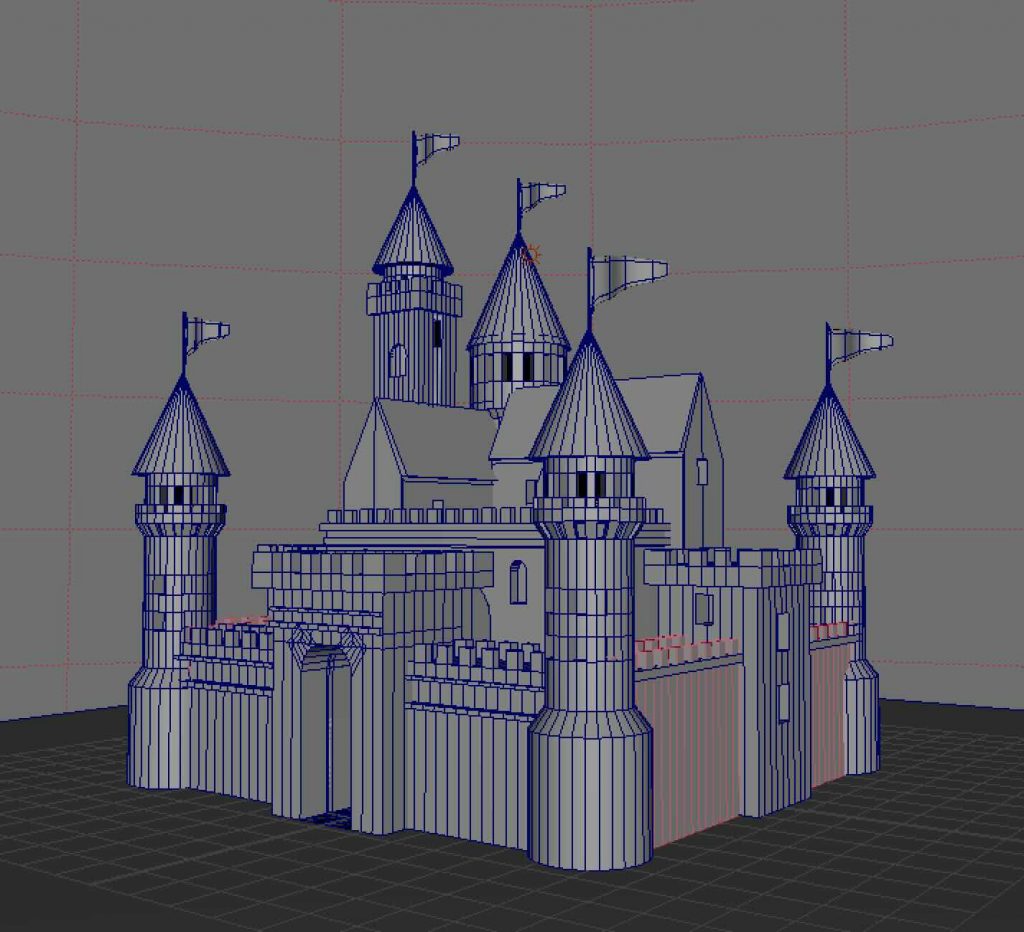
Castle
The castle was our first homework assignment in Maya and was designed to help us become more comfortable working independently in the software. The focus was on combining basic geometric shapes into a larger structure while maintaining balance and consistency. This task reinforced core modelling principles and increased our confidence using Maya outside of class.
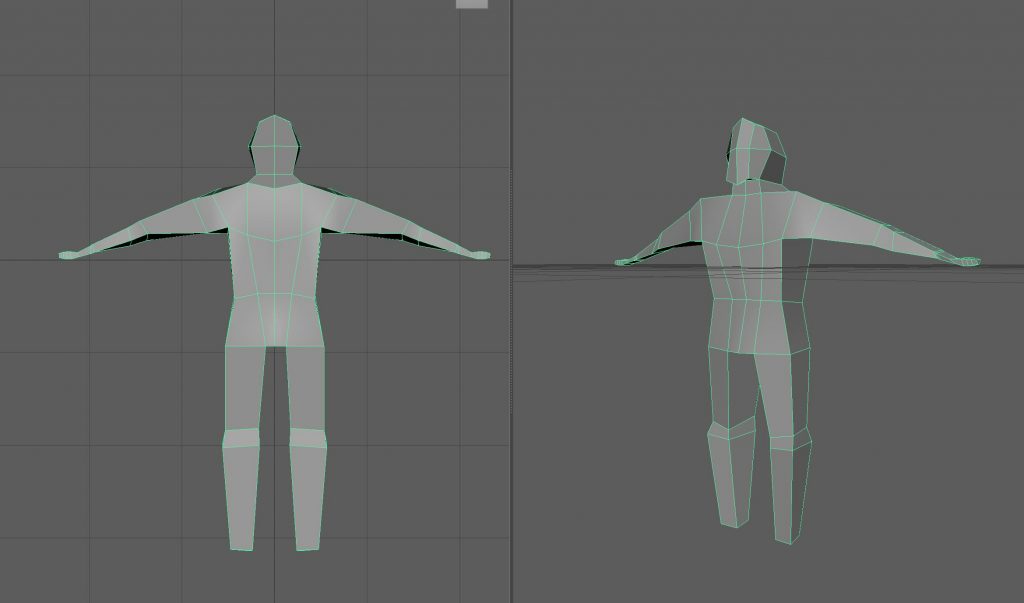
Human body (box modelling)
This in-class exercise introduced us to the basics of human body proportions through box modelling. The aim was not to create a detailed character, but to understand structure, symmetry, and overall form. This task provided a foundation for character modelling workflows used later in the unit.
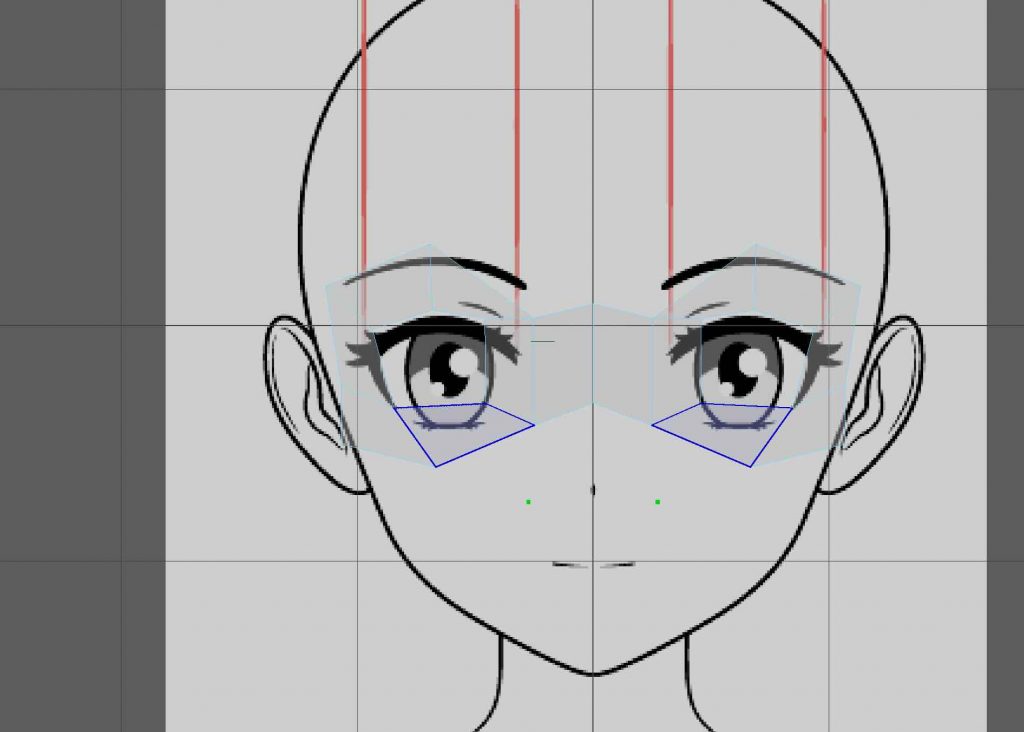
Topology-based modelling (using Quad Draw)
At this stage, we began building up the face using Quad Draw as an alternative modelling approach. This exercise helped us understand that box modelling is not the only way to construct a character, and introduced a more topology-focused workflow. Working in this way encouraged us to think more carefully about edge flow, structure, and how forms are built gradually rather than from predefined shapes.
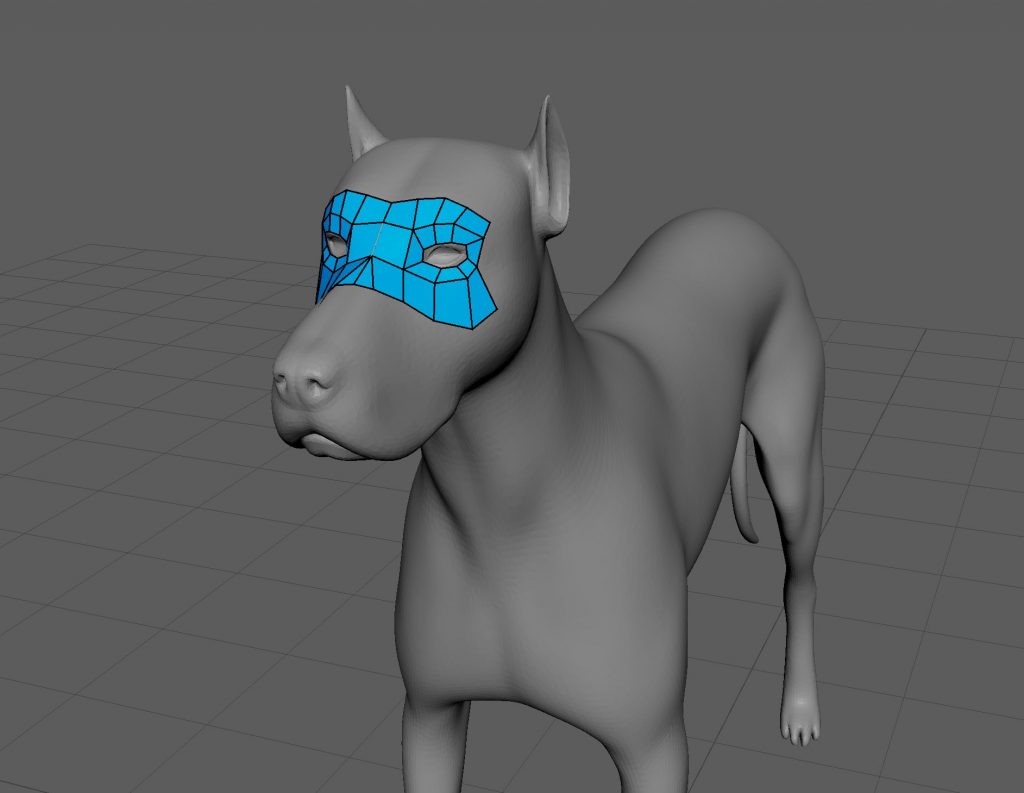
Retopology with Quad Draw
This task introduced us to retopology using Quad Draw in Maya. By working on the dog model, we learned how to rebuild clean topology over an existing mesh, focusing on edge flow and deformation. This was our first experience with retopology tools and highlighted their importance for creating animation-ready models.
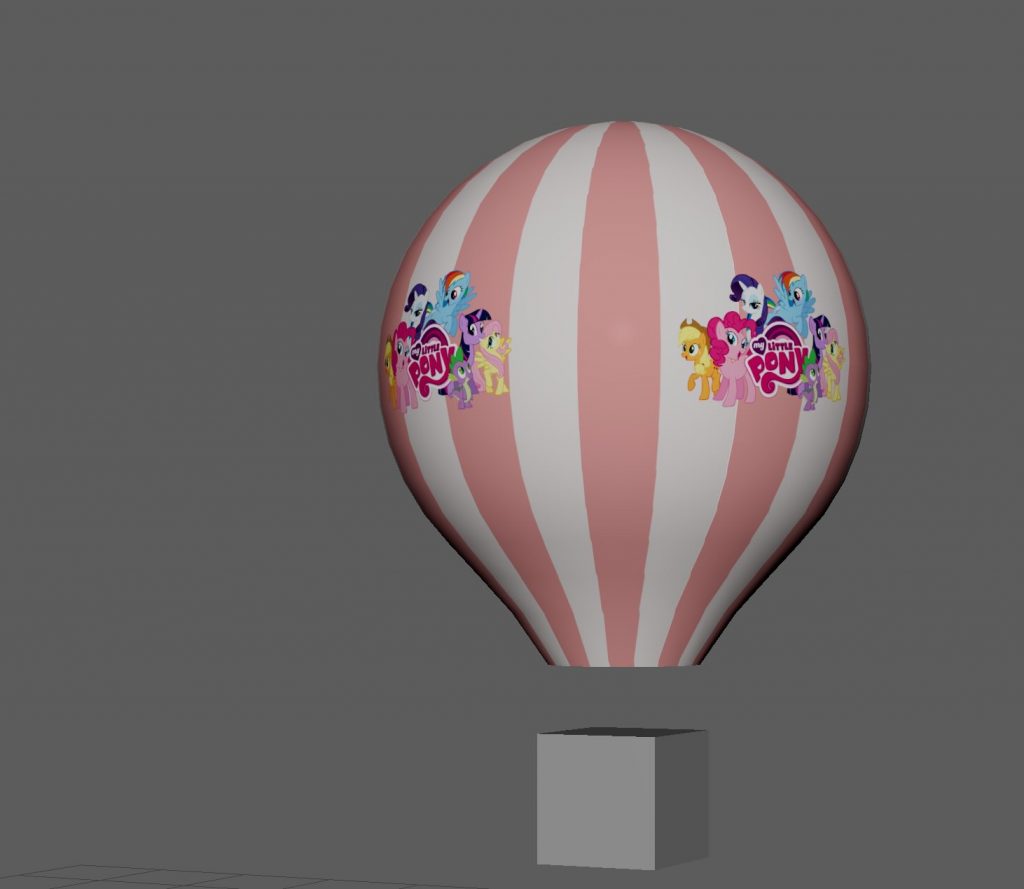
Texturing & UVs
The hot air balloon was created as an introduction to texturing and UV mapping in Maya. The focus was on learning how to unwrap UVs and apply textures correctly to a model. Keeping the model simple allowed us to concentrate on understanding UV layouts and how textures interact with geometry.
Character rigging:
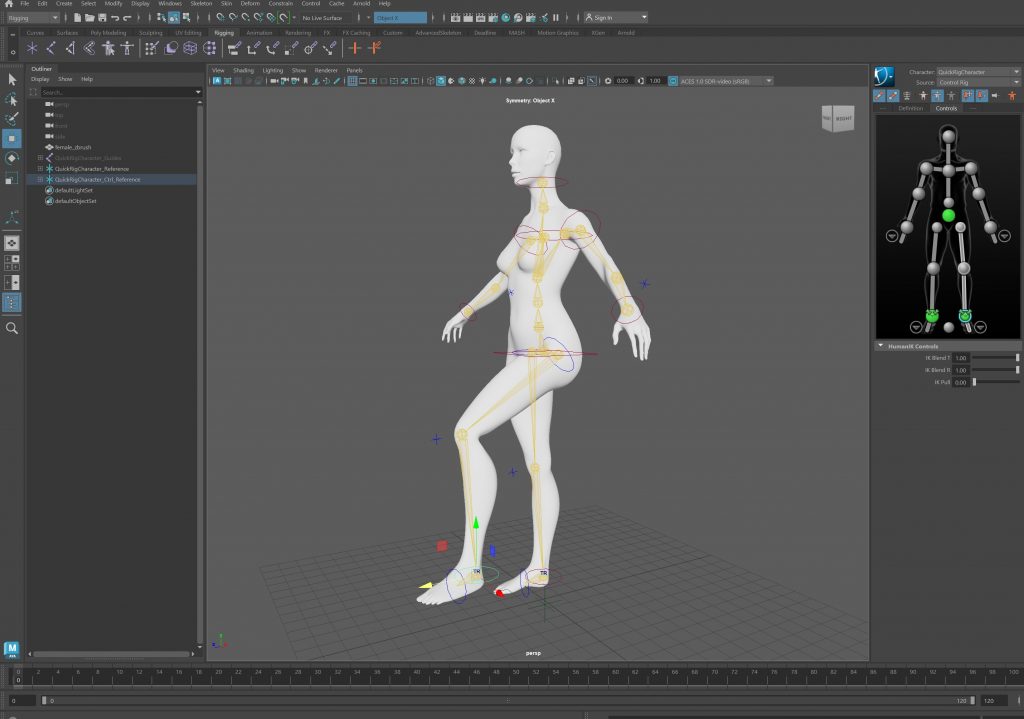
Human – Quick Rig
We began by using Quick Rig on the human character as an introduction to character rigging. This allowed us to quickly generate a functional skeleton and understand how joints are placed and connected within a humanoid form. Working with an automated rig helped us focus on observing movement and proportions rather than building everything from scratch, making it easier to grasp the fundamentals of character rigging.
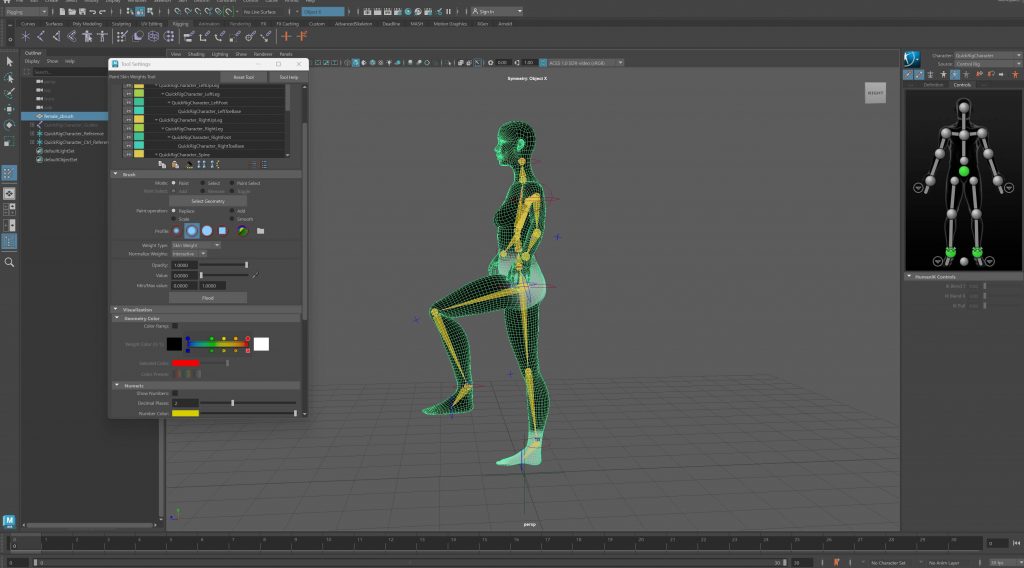
Animation Loop
To test the rig, we created a simple animation loop. This helped us evaluate how the character moved, how the joints interacted, and whether the overall motion felt balanced and believable. Creating this loop made it easier to identify areas that needed adjustment and encouraged us to think about movement as a continuous, flowing process rather than a single pose.
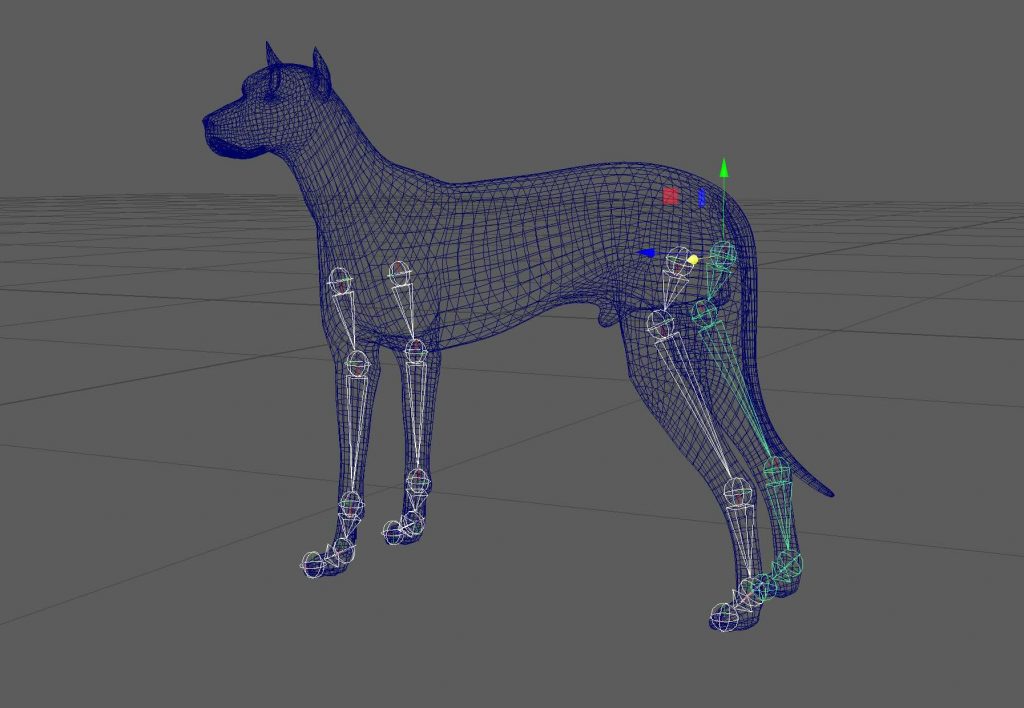
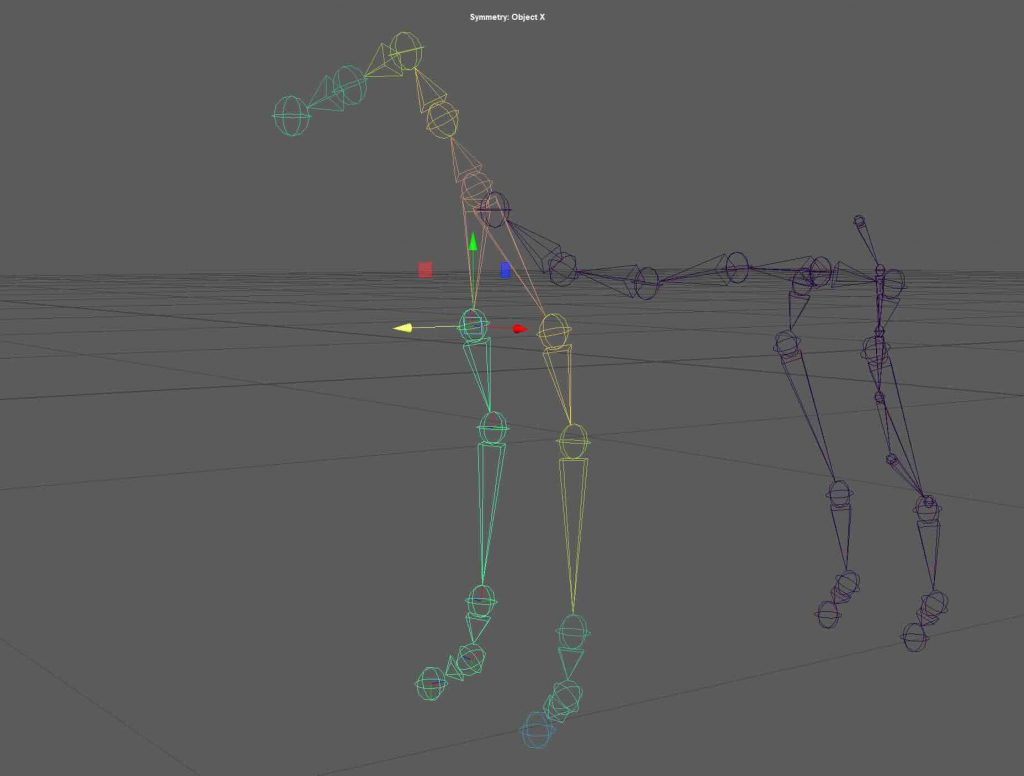
Dog – Manual Rigging
For the dog, we moved away from automated solutions and built the rig manually using Create Joints. This approach required more precision and planning, especially in relation to anatomy and joint placement. We refined the skin weights to ensure the mesh deformed smoothly and added IK handles and basic controllers to make the rig easier to pose and animate. This process gave us a deeper understanding of how rigging works at a structural level.
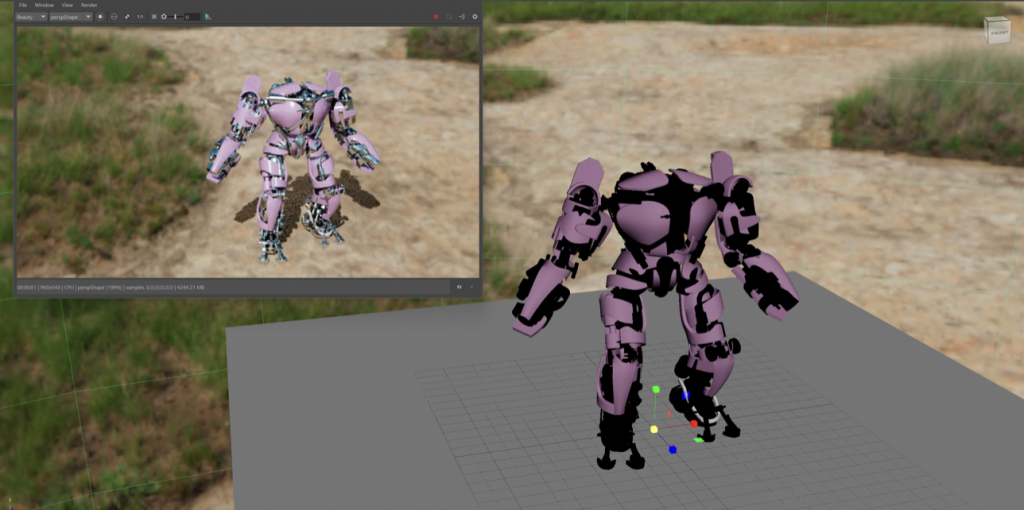
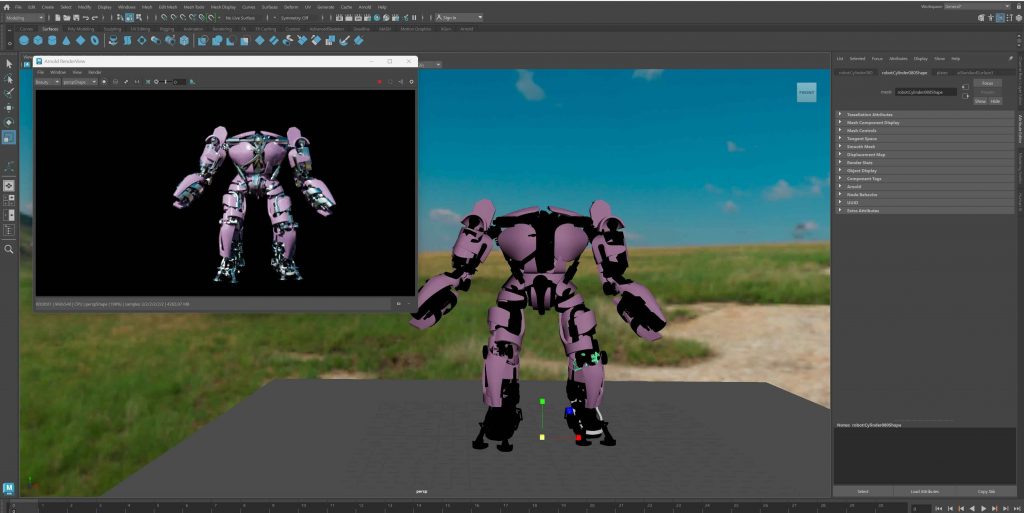
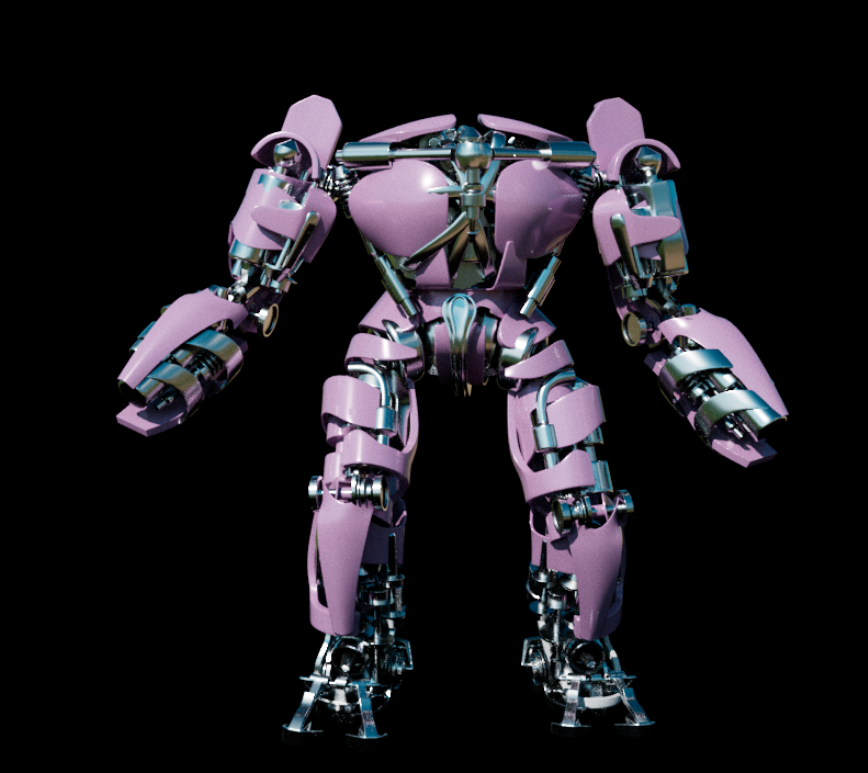
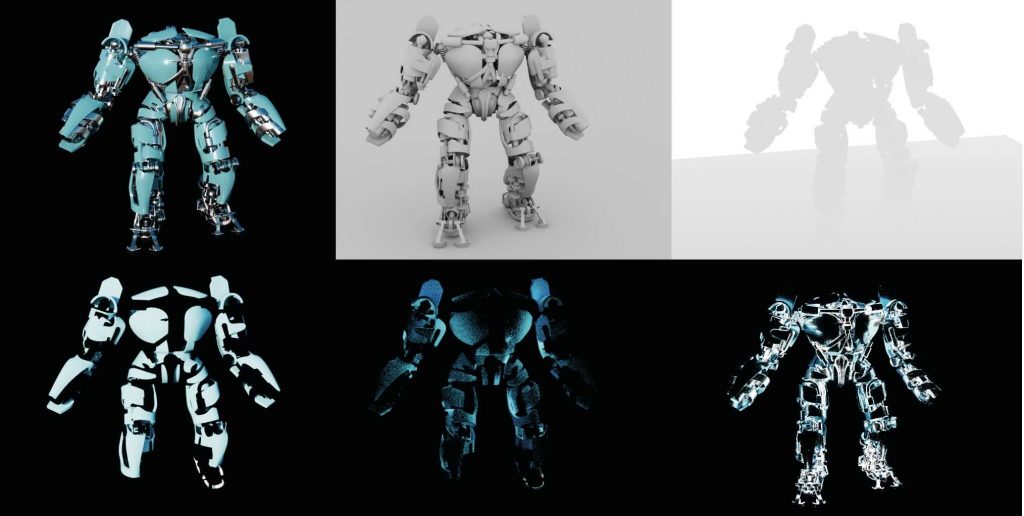
Rendering in Maya:
We learned how to render our models in Maya by working with an HDRI backdrop to establish realistic lighting and overall mood. The HDRI was used as a light source rather than a visible background, allowing us to control how the model was illuminated while keeping the focus on the asset itself. We then rendered the model using multiple render passes, which helped us understand how different elements of the image can be separated and adjusted later.
Leave a Reply