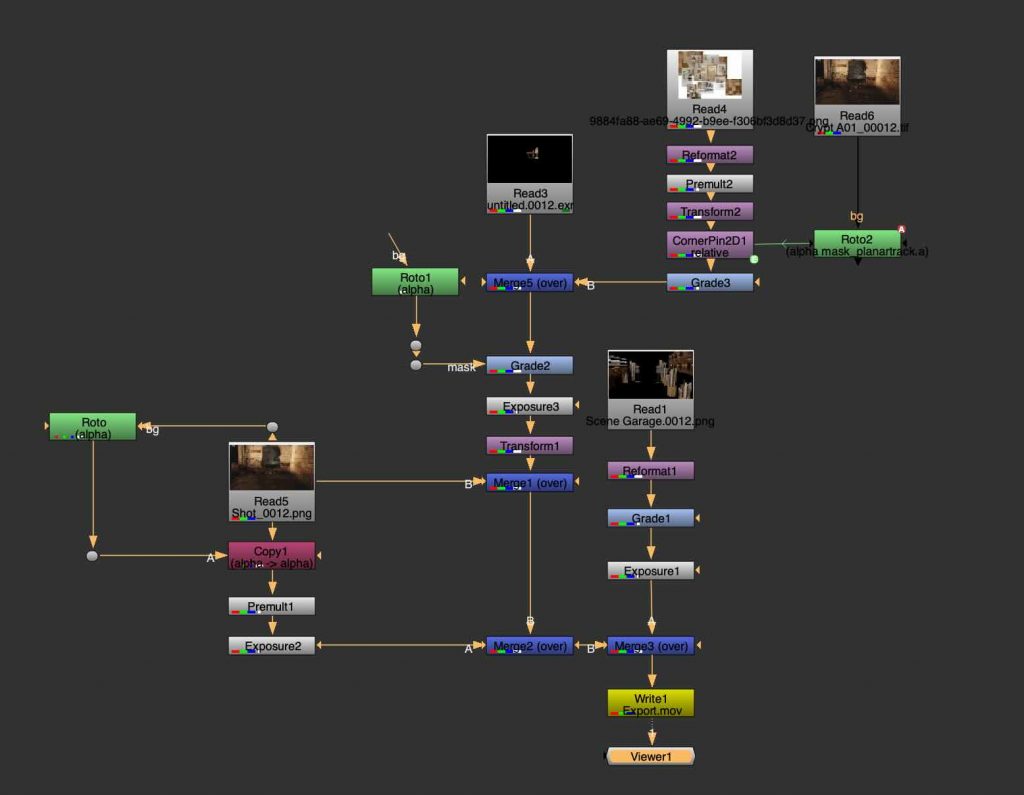
For our biggest project in Nuke, we worked with footage of an abandoned garage and transformed the space by integrating 3D elements into the scene. The goal was to make the environment feel more visually interesting and believable by adding machinery and other objects that fit naturally into the space.
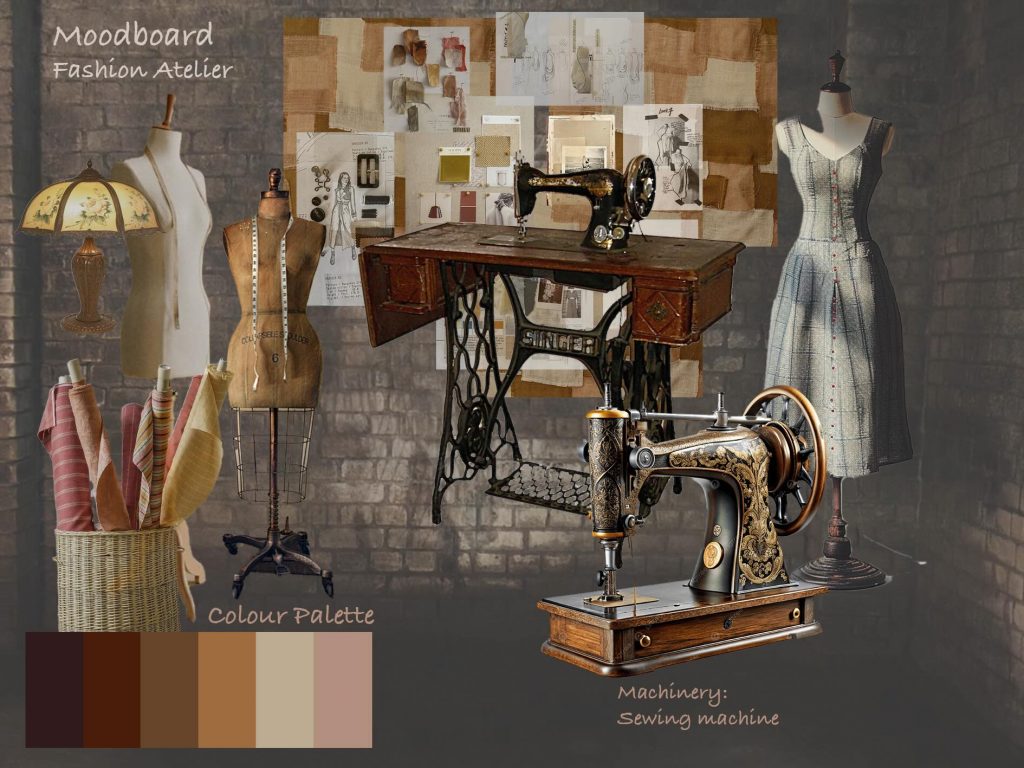
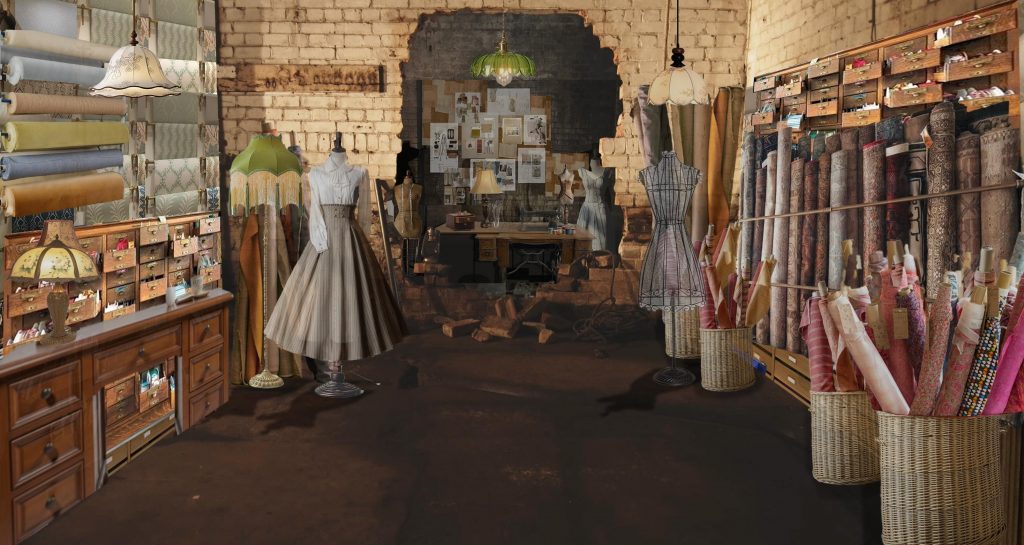
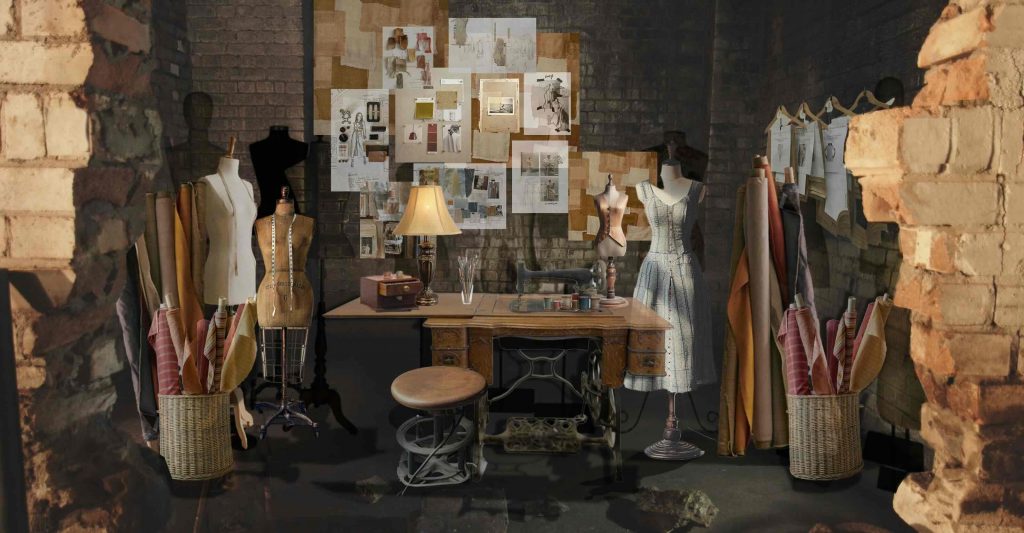
Concept and Moodboard:
Before starting the compositing process, we had to develop a concept and create a moodboard to plan how the final scene would look.
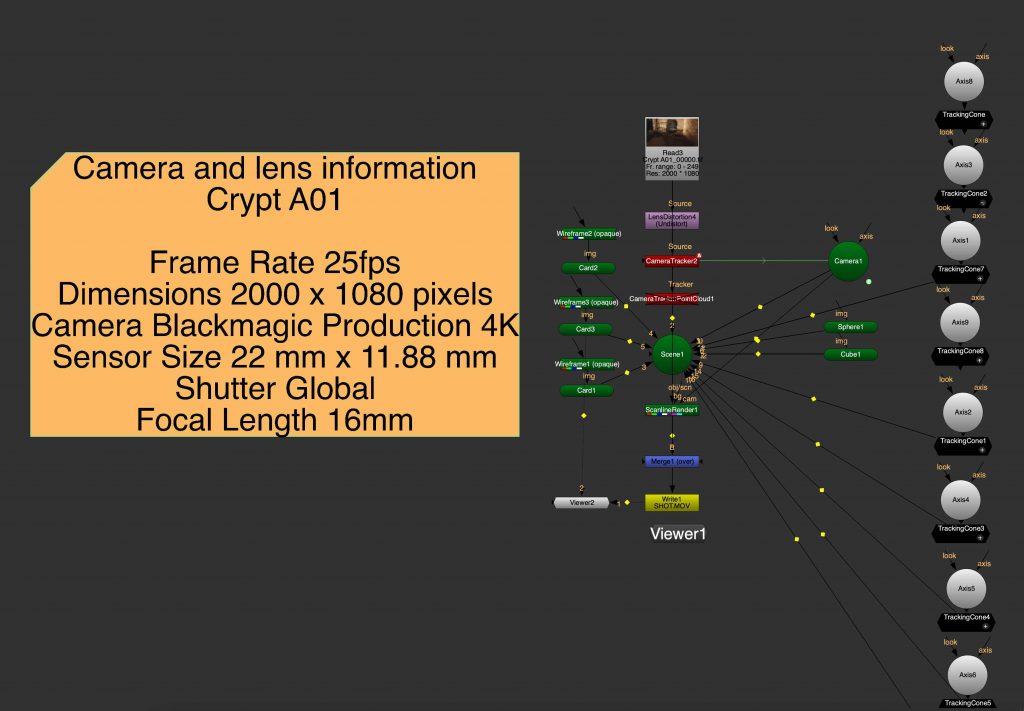
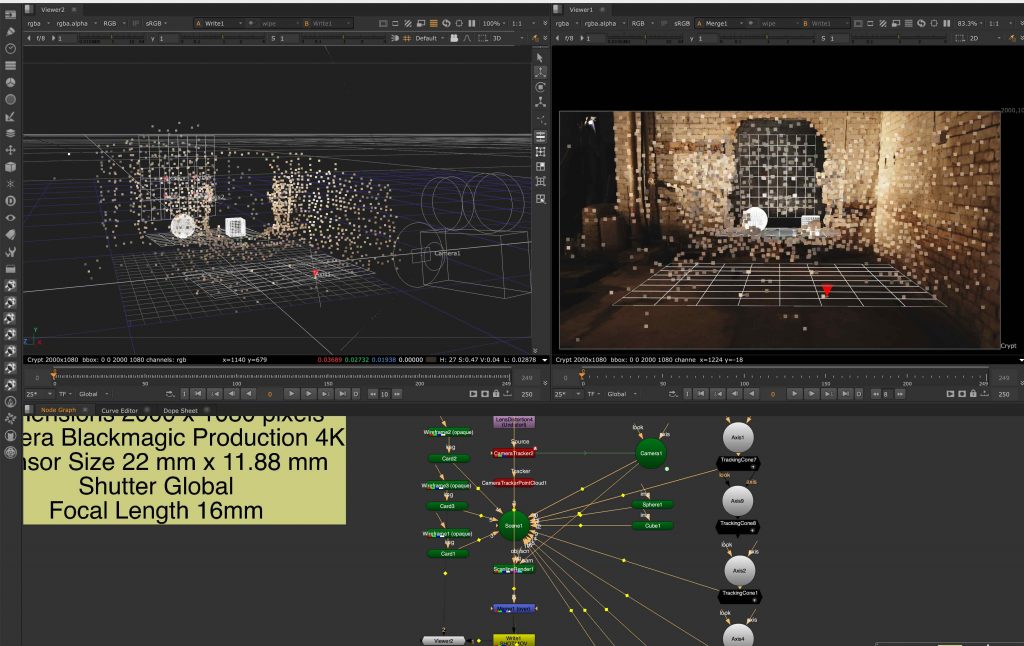
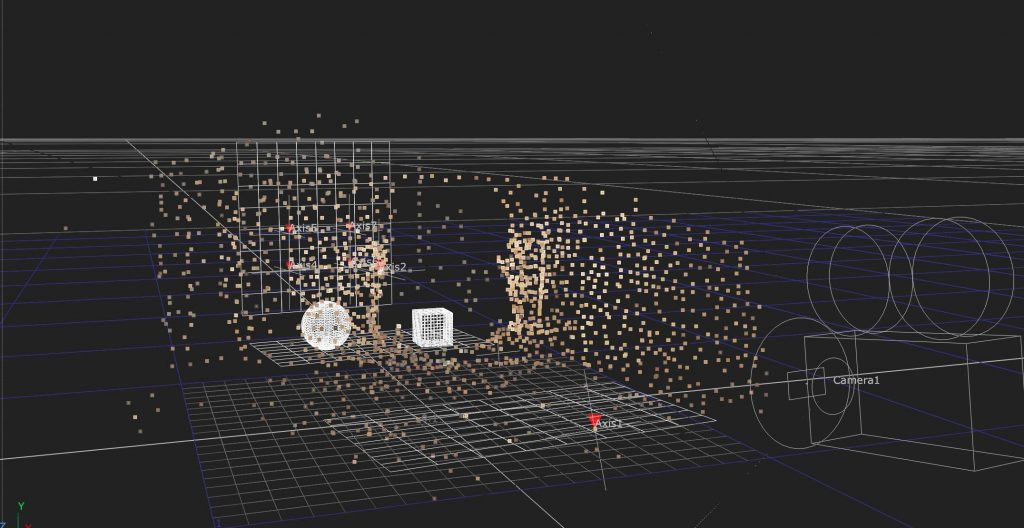
Tracking and working in 3D Nuke space:
We began by tracking the footage and placing cones onto the tracking points to check whether the camera tracking was stable and accurate. After that, we started building the basic 3D scene by placing floor planes and simple objects, such as cubes, into the environment to match the perspective and movement of the original footage.
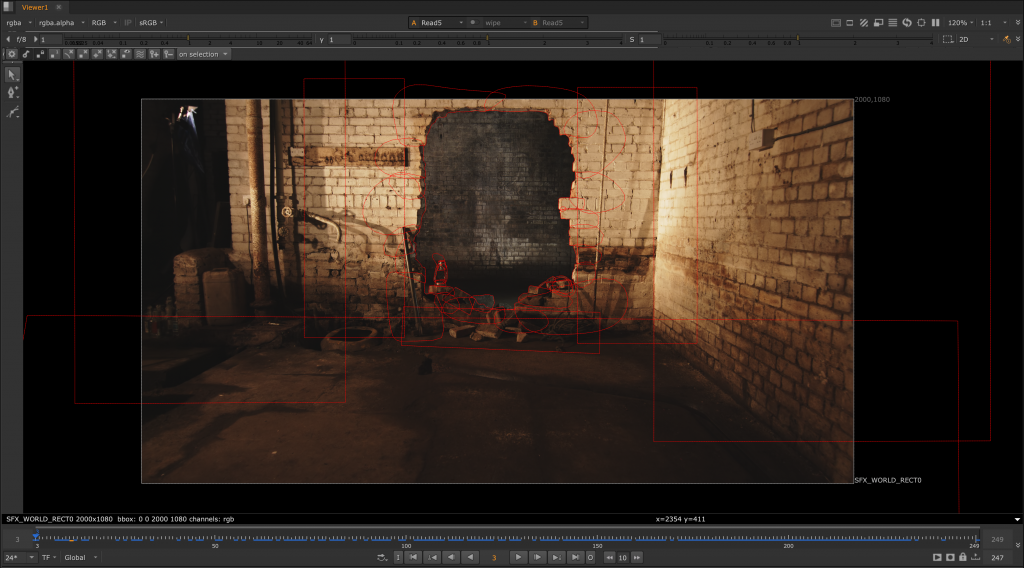
Rotoscoping:
To gain more control over the composition, we also rotoscoped the first room from the second room, separating the spaces so the added elements could interact more naturally within the scene.
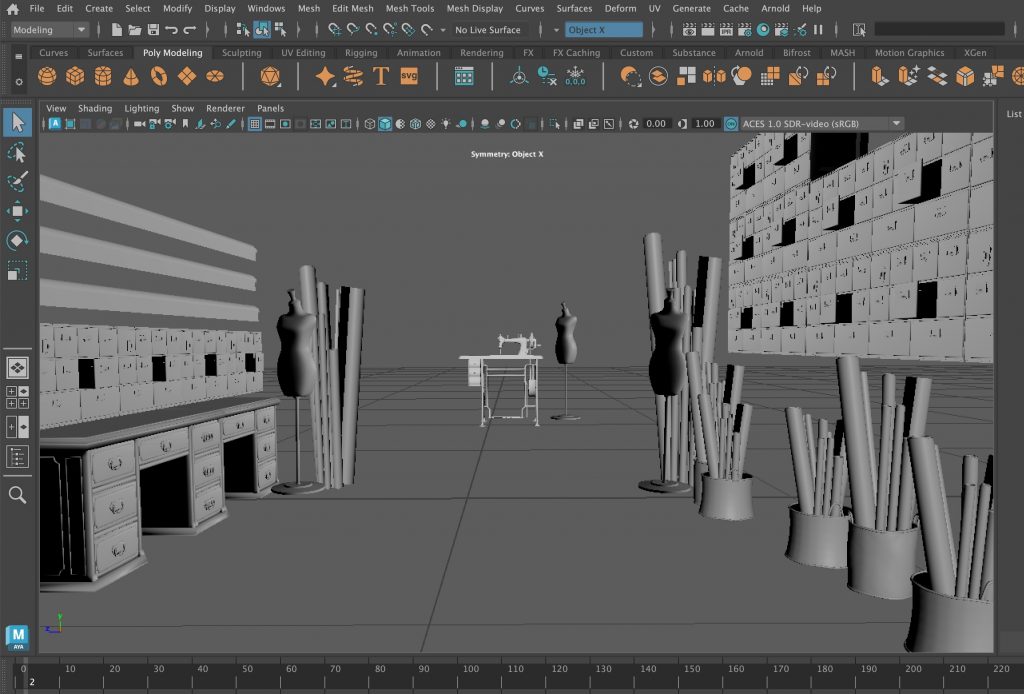
3D Models:
For the 3D elements, I decided not to model the objects myself and instead focused on learning texturing.
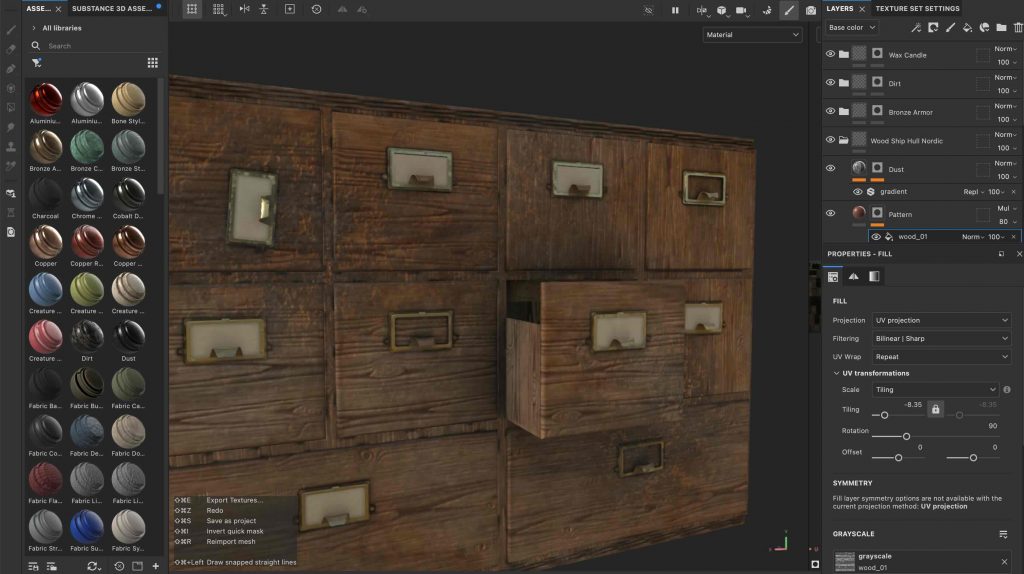
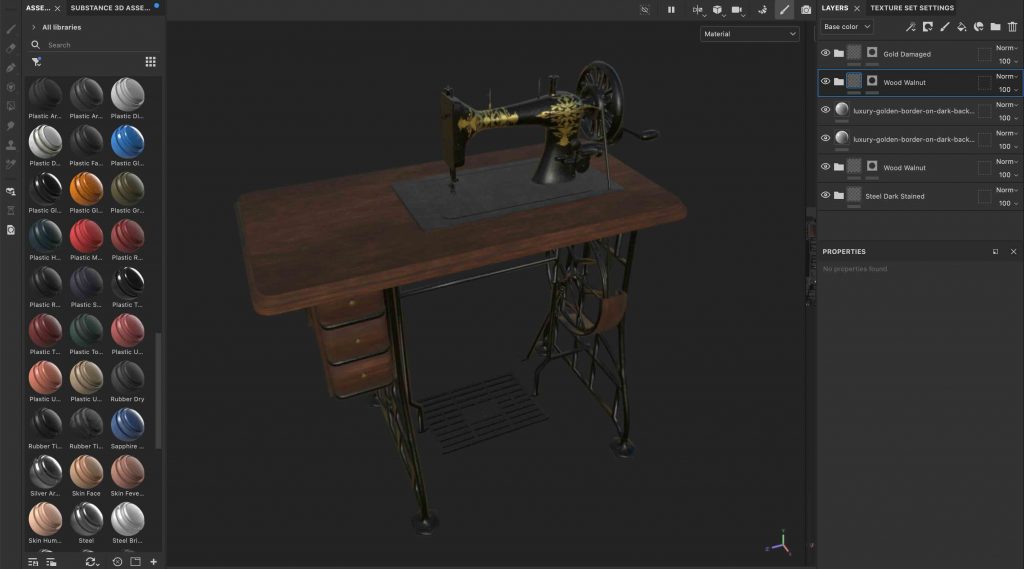
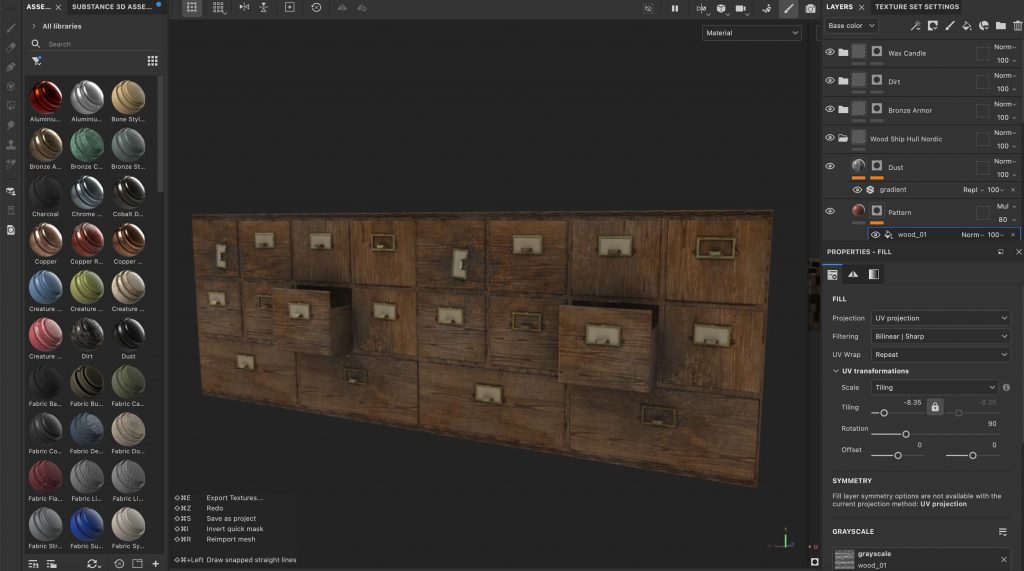
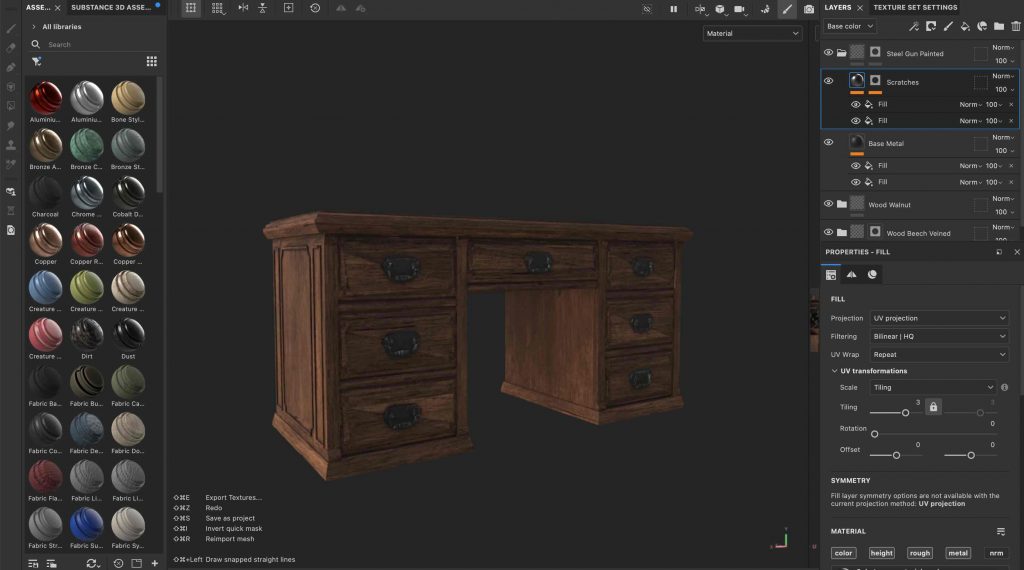
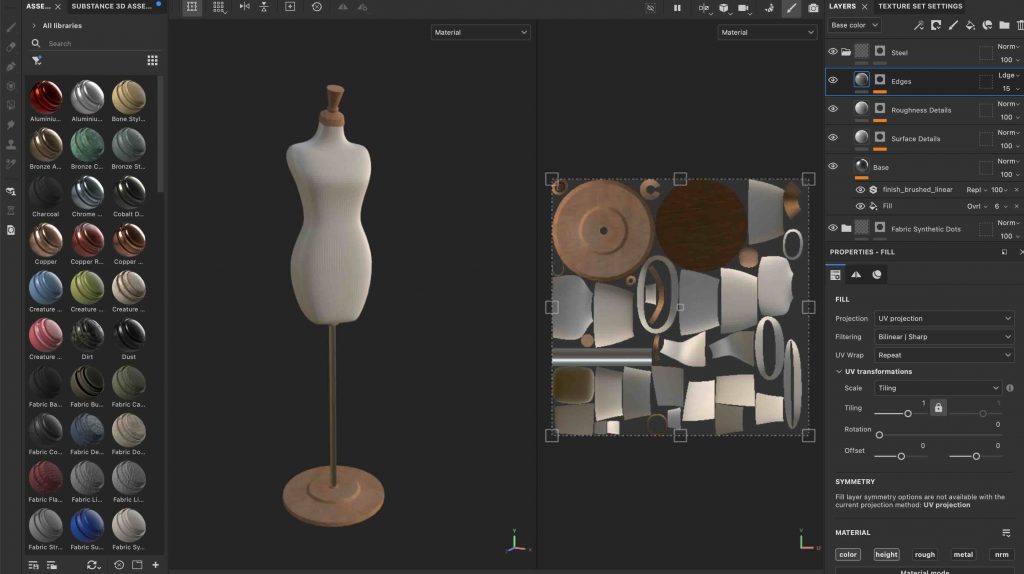
Substance Painter:
I used Adobe Substance 3D Painter for the first time to texture the sewing machine and the other assets, which I ended up enjoying a lot. It was interesting to experiment with different materials, surface details, and weathering to make the objects feel more realistic and suited to the abandoned environment.

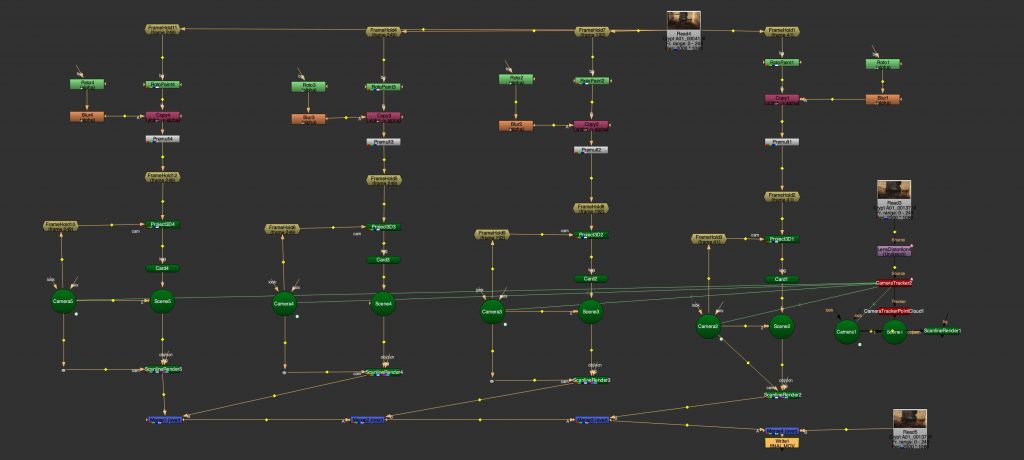
Compositing:
The final stage involved rendering the 3D scene in Autodesk Maya and compositing the rendered elements back into the original footage in Nuke. This project combined tracking, rotoscoping, texturing, 3D integration, and compositing into one workflow, giving a better understanding of how visual effects shots are built from start to finish.

Leave a Reply